Compare three independent choices
| Decision | Option | What to check |
|---|---|---|
| Coverage | Localized taper or broader side fade | Which areas should stay longer? |
| Height | Low, mid or high placement | How far up should the shortest area travel? |
| Finish | Skin or visible short hair | How close should the bottom be? |
| Contour | Straighter path or dropped curve | What should happen behind the ear? |
The names answer different questions
Fade terminology can overlap between shops. The most useful way to avoid confusion is to separate three decisions: where the transition sits, how short it finishes, and how much of the sides and back is shortened.
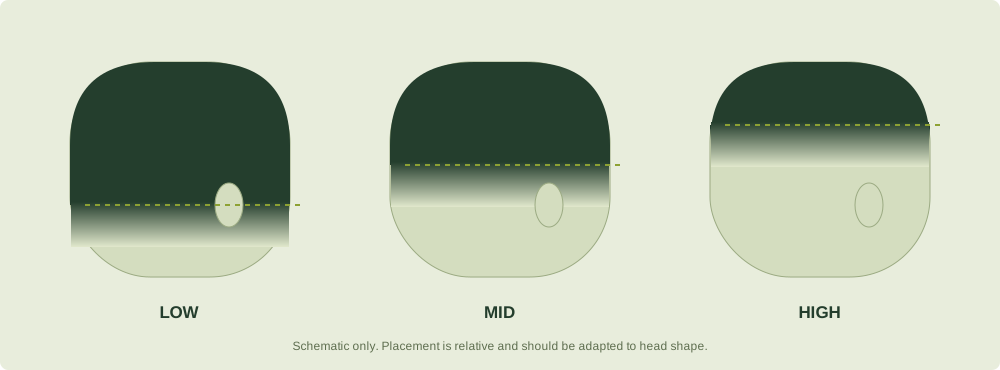
Original schematic, not a haircut photo or a cutting template. Actual placement should be adapted to your head shape.
A mid fade isn’t
a mid taper.
A mid fade blends short hair into longer hair across the sides and back, with the transition around the middle of the head. The exact placement depends on your head shape and the barber’s interpretation.
A taper usually concentrates the shortening around the sideburns and neckline, keeping more coverage elsewhere. Bring a side and back reference so you both mean the same thing.
| ASK FOR | WHAT IT CHANGES |
|---|---|
| Low fade | Keeps the transition closer to the ears and neckline. |
| Mid fade | Places the transition higher, around the middle of the sides. |
| High fade | Takes the short area farther up the head. |
| Skin fade | Describes the shortest finish, down to skin. It can sit at different heights. |
| Mid taper | Usually a more local blend at the temples and nape. |
Mid fade vs skin fade: placement vs closeness
A mid fade does not automatically mean bare skin. You can keep visible hair at the lowest point, or ask for a skin finish. Conversely, a skin fade can be low, mid or high. Saying both the placement and finish gives your barber a clearer request.
“Mid fade, keep some visible hair at the bottom” and “mid skin fade” describe different levels of exposure even if the blend sits at a similar height. If you are uncertain, ask your barber to show what the proposed shortest setting means before starting.
A guard number is not a fade height
A guard describes a cutting length on a particular clipper setup. It does not establish where the fade will sit or how the top should look. Rather than prescribing a sequence of guards, agree on the visible result and let the barber explain the settings they will use.
Mid fade vs mid taper: coverage matters
In ordinary barber conversations, a taper often focuses shortening at the temples or sideburns and neckline, while a fuller fade changes more of the sides and back. Usage varies, and “taper fade” is sometimes used broadly. A photograph of the side and back is more reliable than the name on its own.
Do not assume a taper must always leave hair at the shortest point. The area being blended and the shortest finish are different decisions. Ask how far the short section will extend around your head and whether it will reach skin.
Two haircuts can look similar from the front while leaving very different amounts of coverage behind the ear and at the nape.
What about drop, burst and disconnected styles?
A drop fade describes a contour that dips behind the ear. A burst concentrates the blend around the ear, usually preserving more length elsewhere. These names add information about the route of the blend rather than replacing the need to discuss placement and finish.
A disconnected undercut is another distinction: a longer top may sit over much shorter sides without the same gradual connection. If you want a continuous blend, point that out. If you like a visible separation, show a reference and ask what it will take to maintain.
The clearest comparison is a practical one
| IF YOU WANT | DISCUSS |
|---|---|
| Less exposed scalp | A longer shortest setting and where the close area stops |
| More coverage behind the ear | A localized taper or a contour that retains more coverage |
| Noticeable contrast across the sides | A fuller fade, with placement indicated before cutting |
| A sharper close finish | Whether a skin finish fits your preference and maintenance routine |
Use the consultation checklist to turn these choices into a request. Then compare top styles separately so the sides and top support the same silhouette.
Why two “mid fade” photos can look different
A name is a starting point, not a blueprint
The size of the close section changes with head shape, hair density and the way the blend is adapted. A mid fade on one person can therefore look more exposed than a similarly named cut on another. A photo should help you communicate the coverage you like, not set an exact line for every head.
Ask the barber to indicate the proposed transition on you. Then confirm the shortest finish separately. This catches a common misunderstanding: one person means the position of the blend while the other hears a request to take the entire side much closer.
Front, side and back can tell different stories
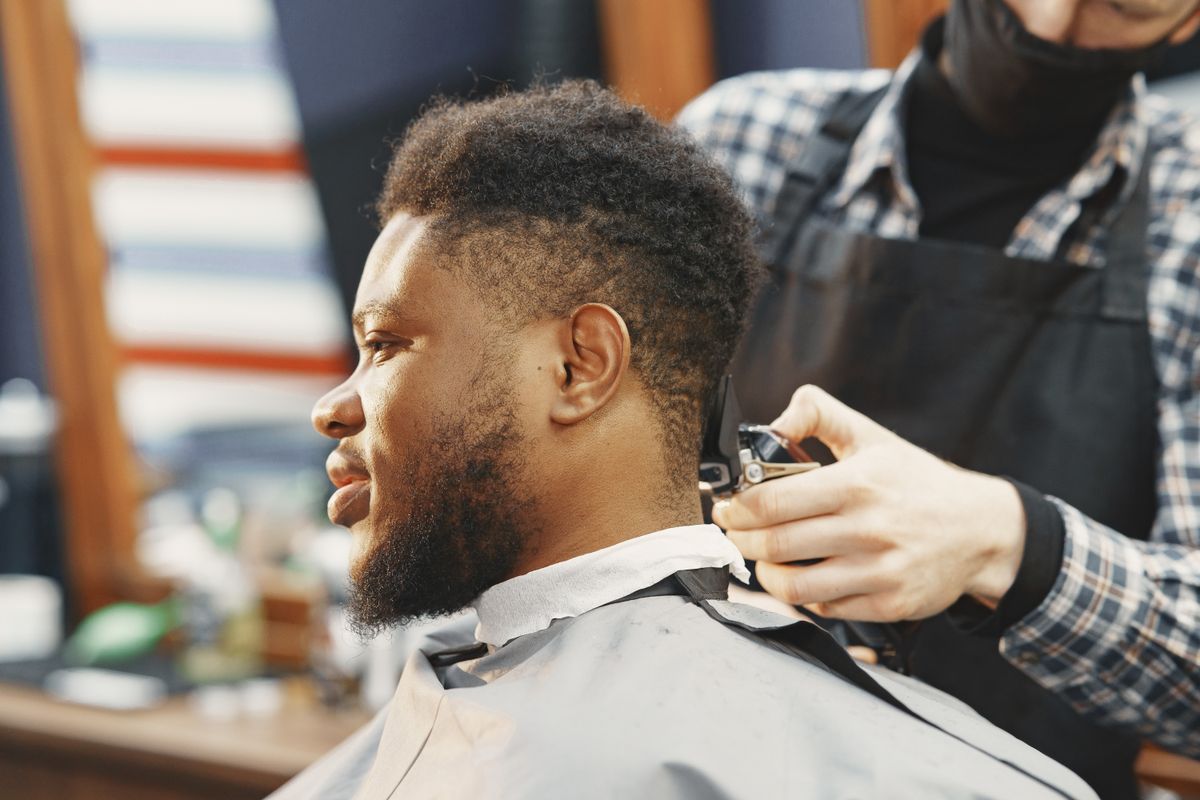
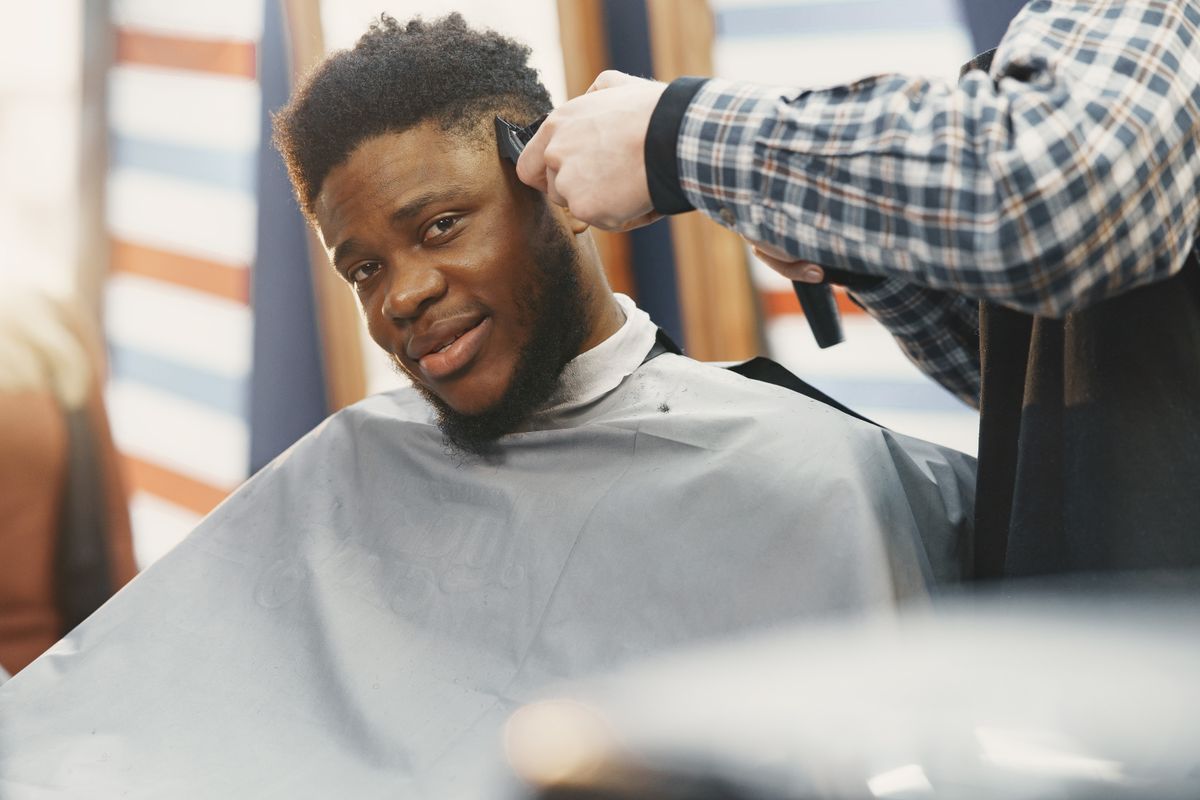
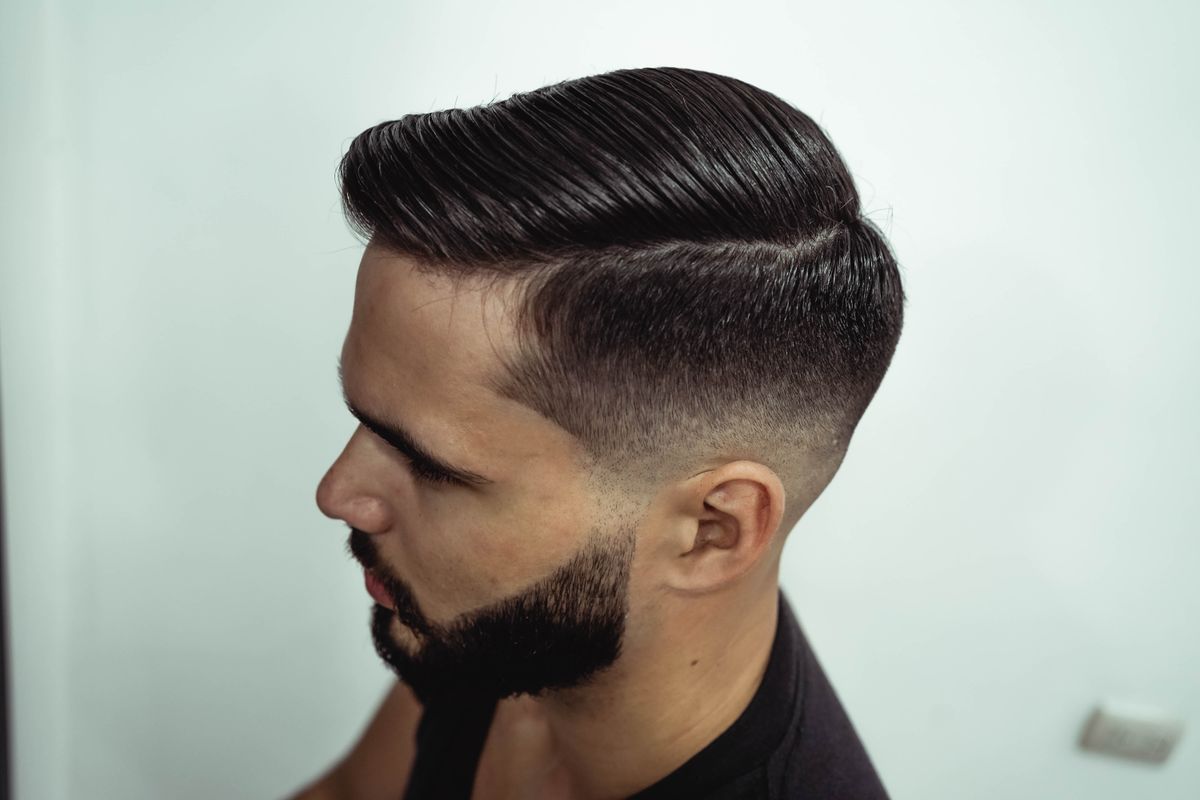
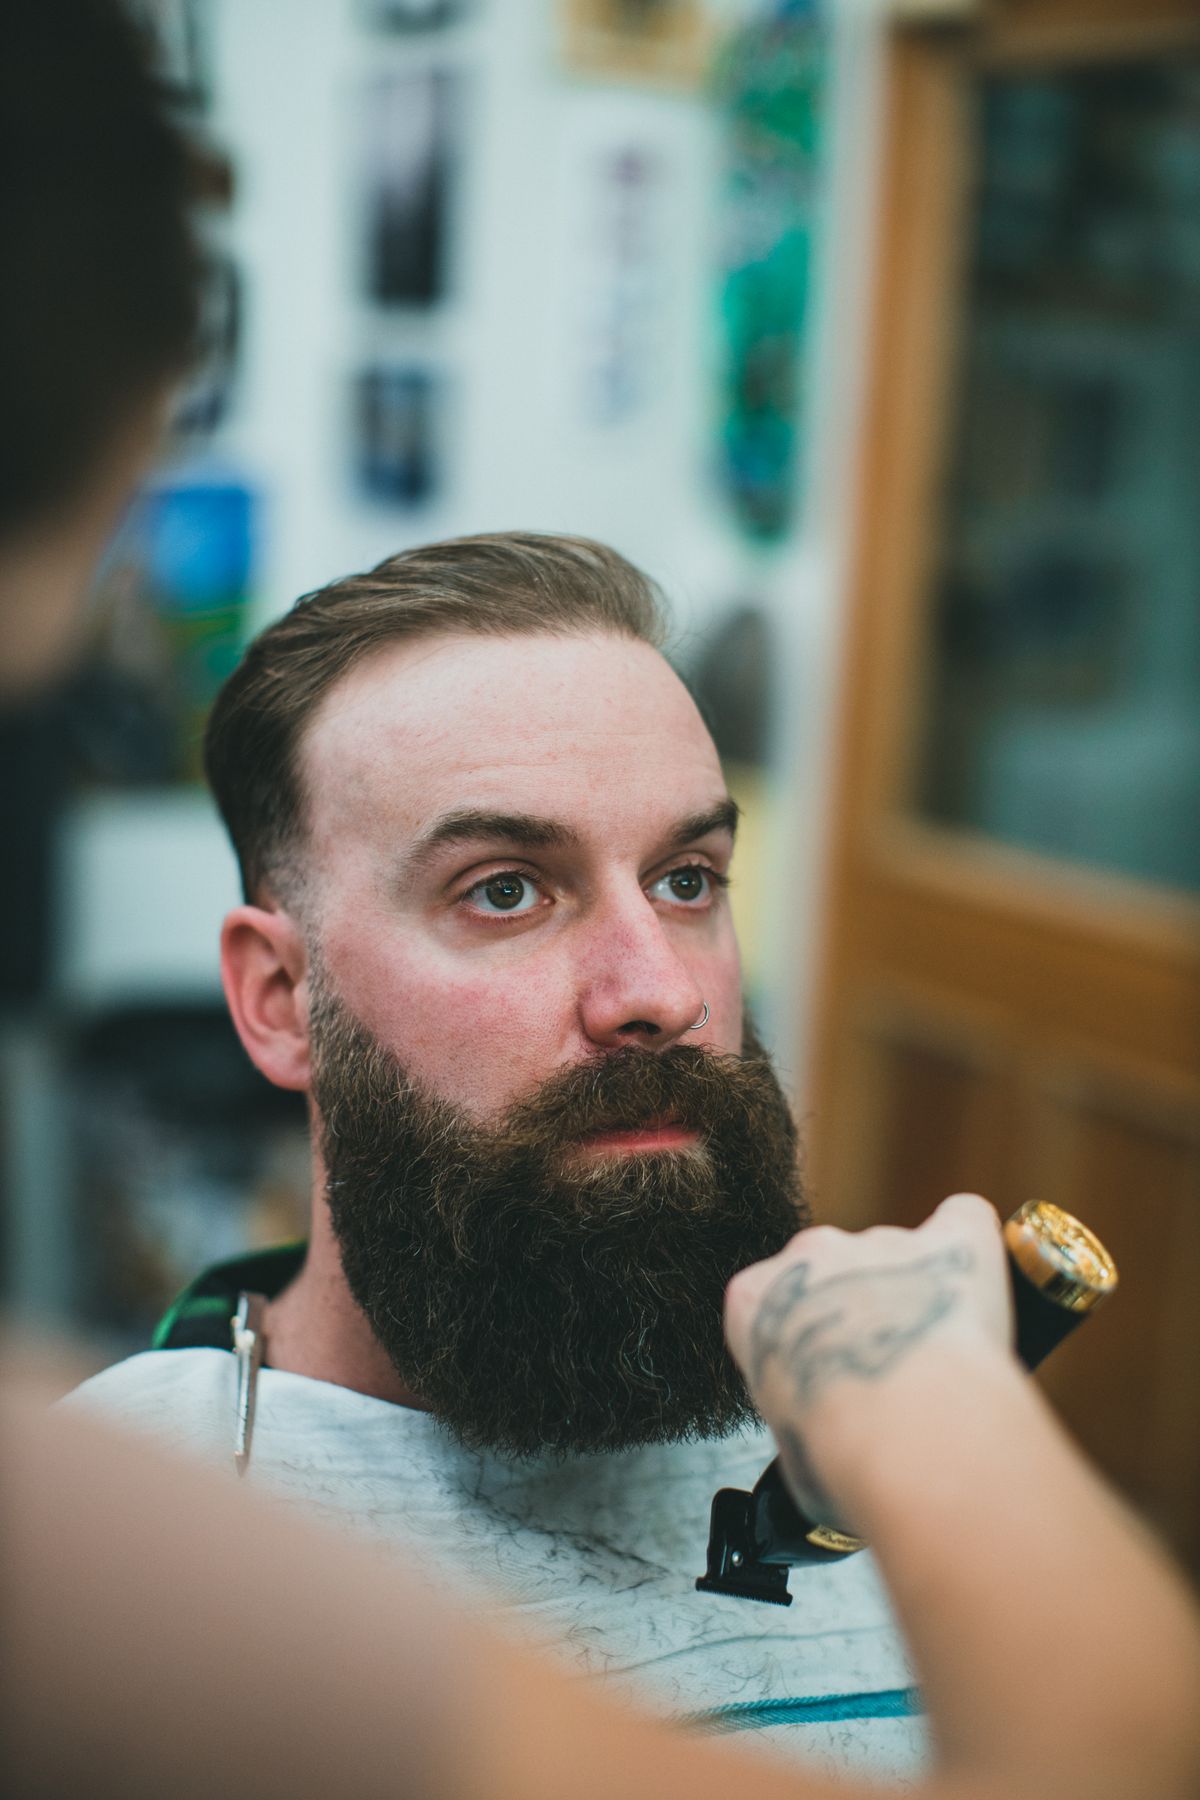
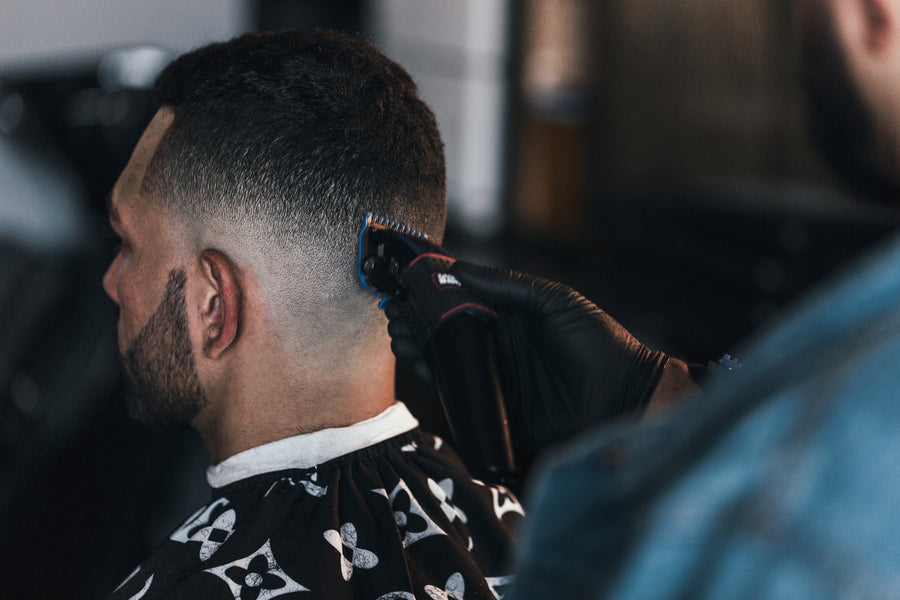
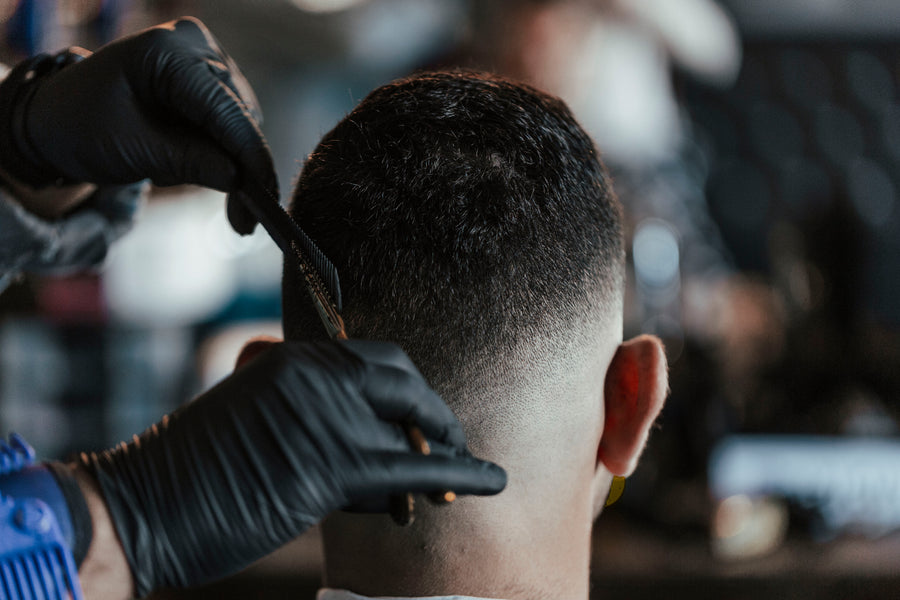
A front image may show tidy temples while leaving the back hidden. A side view reveals more of the area above and behind the ear. A back view helps distinguish a localized neckline taper from a broader fade and shows how much length remains through the nape.
When the reference set does not include all angles, ask what remains uncertain. Do not assume the hidden back matches a second unrelated image. If you want a particular contour behind the ear, point to that feature and discuss whether it connects sensibly with the rest of the haircut.
Skin, shadow and visible coverage
Some shops use “shadow” to describe a softer, non-skin finish, while terminology can vary. Rather than relying on the word alone, describe the amount of visible hair you want at the shortest point. Ask the barber to explain any term you have not used together before.
The visual effect also depends on contrast between the hair and scalp. A setting that looks subtle on one person may appear more defined on another. That is another reason to agree on the result rather than treating a number as a complete haircut request.
Details to discuss in the chair
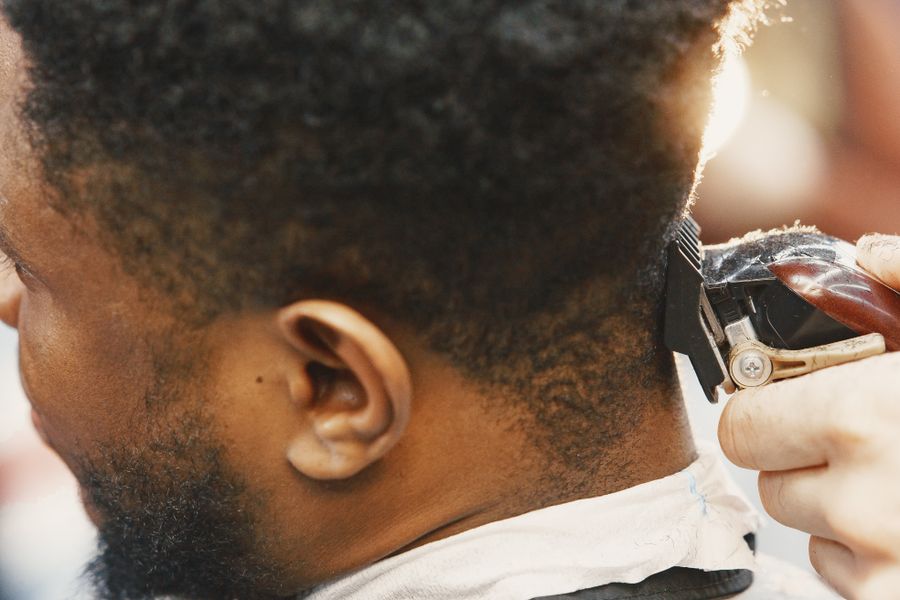
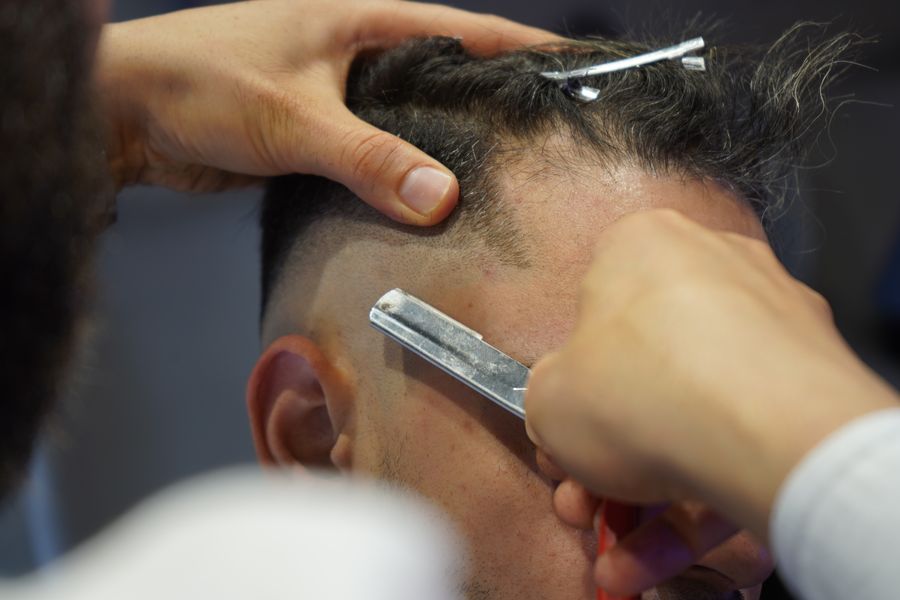
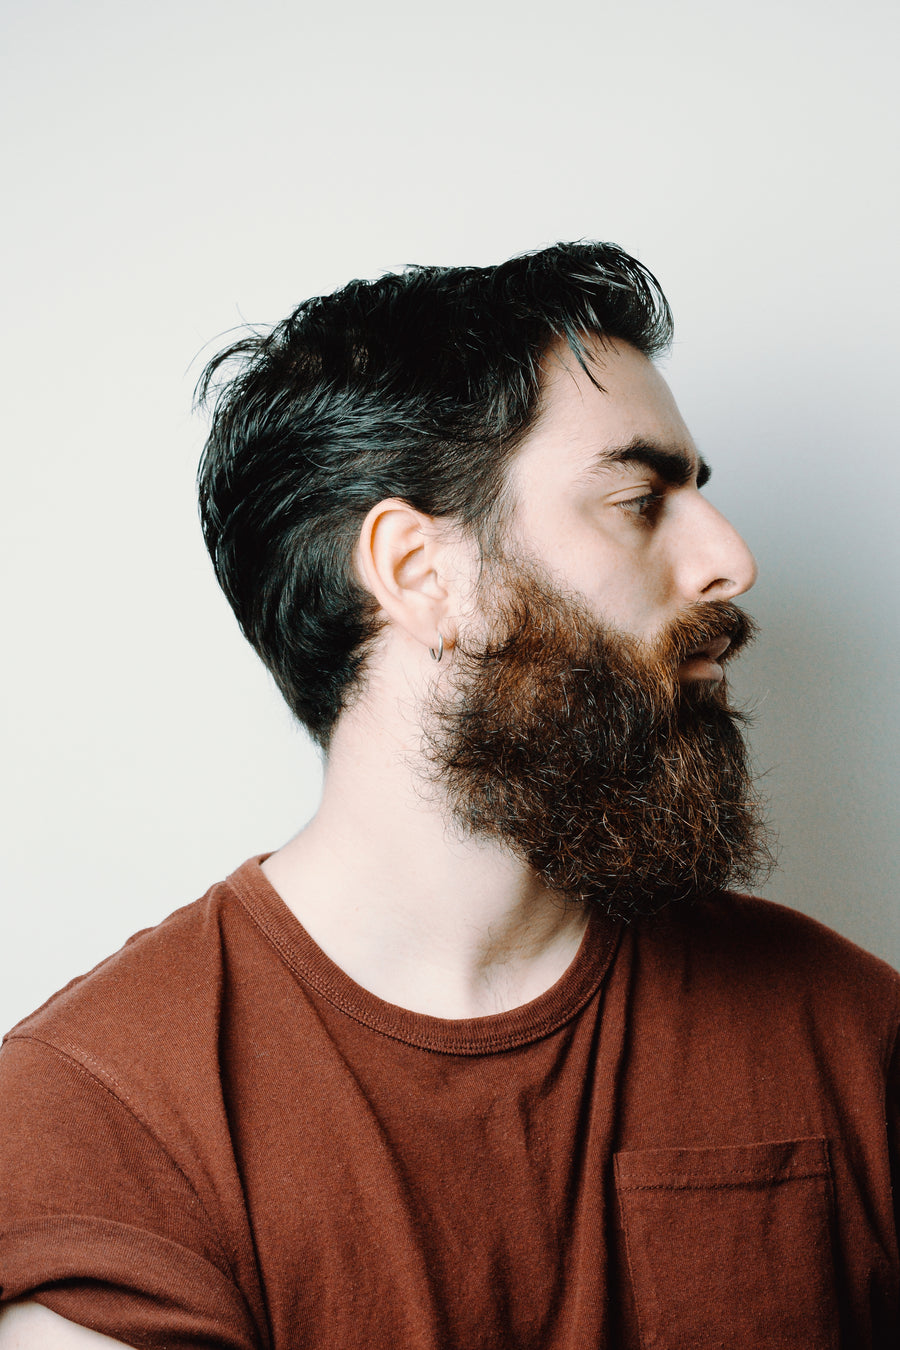
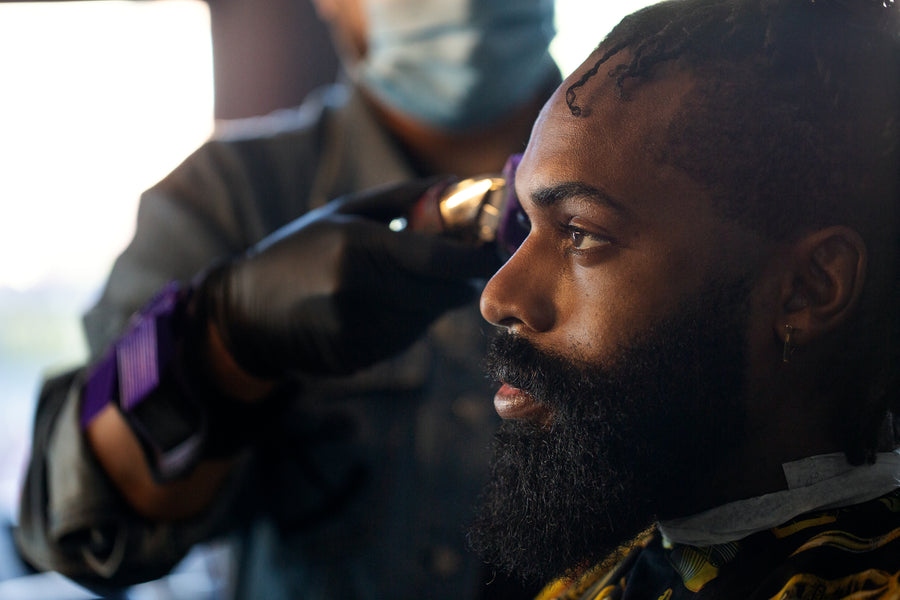
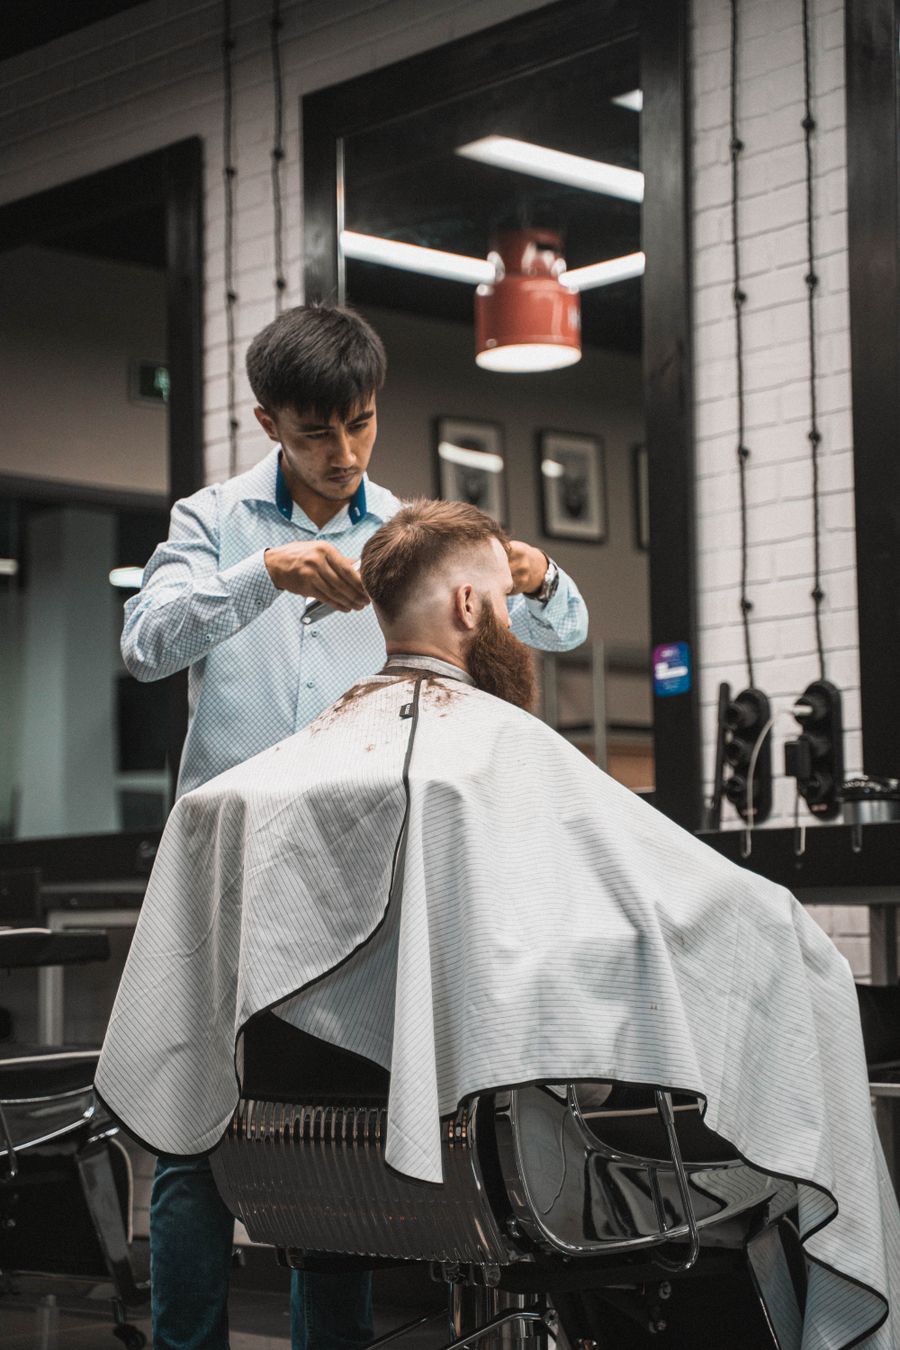
Use the reference notes to describe your preference. These are real grooming photos, not a verified gallery of exact mid-fade variations.
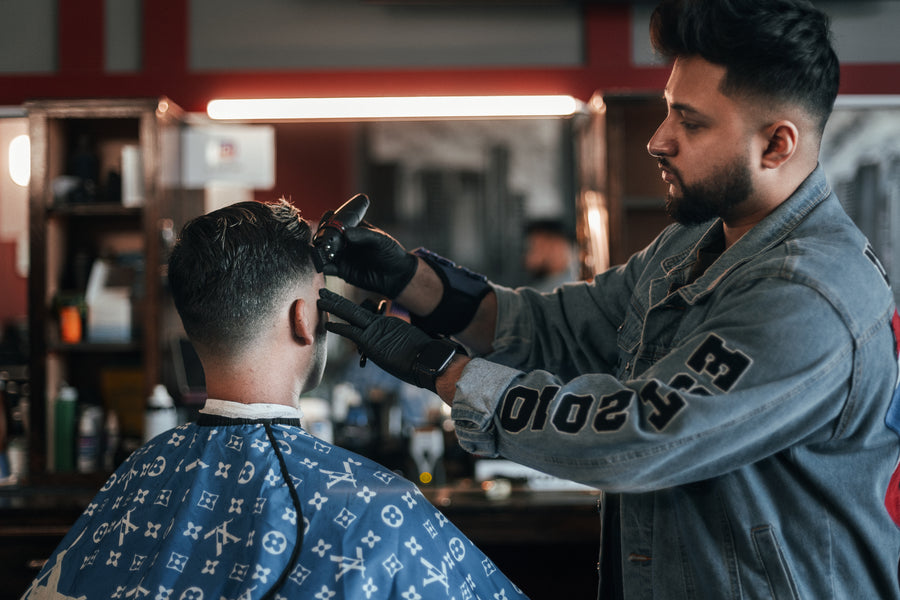
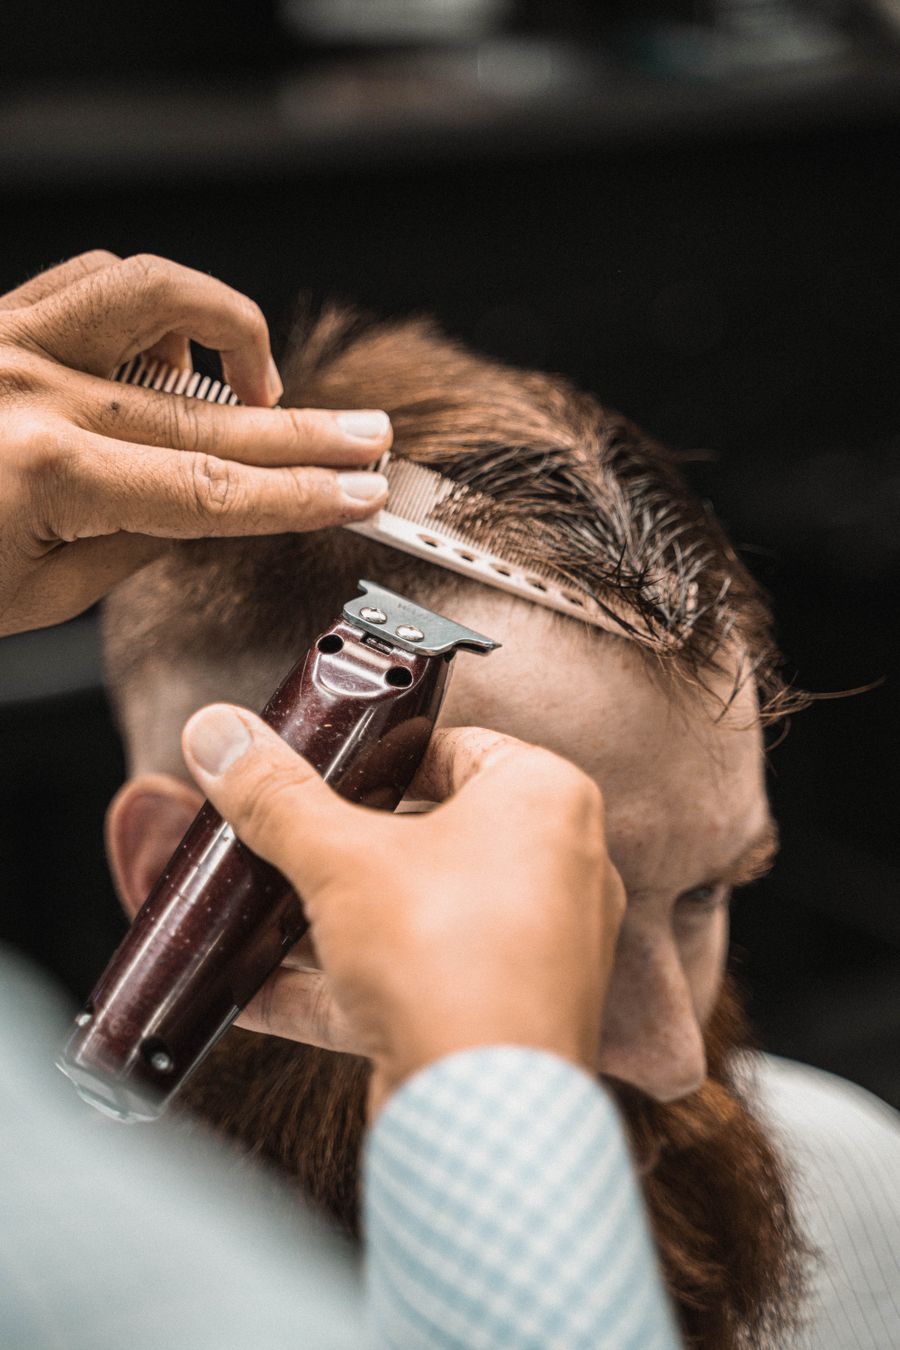
Use these comparisons in a real consultation
“I like this cut, but the sides feel too high”
Say whether you want the transition lower, more fullness at the upper sides or less skin exposure. These are related but different adjustments. Lowering the placement and choosing a longer finish do not create exactly the same result.
“I want tidy temples without changing the whole side”
Ask about a more localized taper and show the coverage you want preserved. Confirm what happens at the neckline too. The word taper may not settle whether the shortest point reaches skin or how much of the back is shortened.
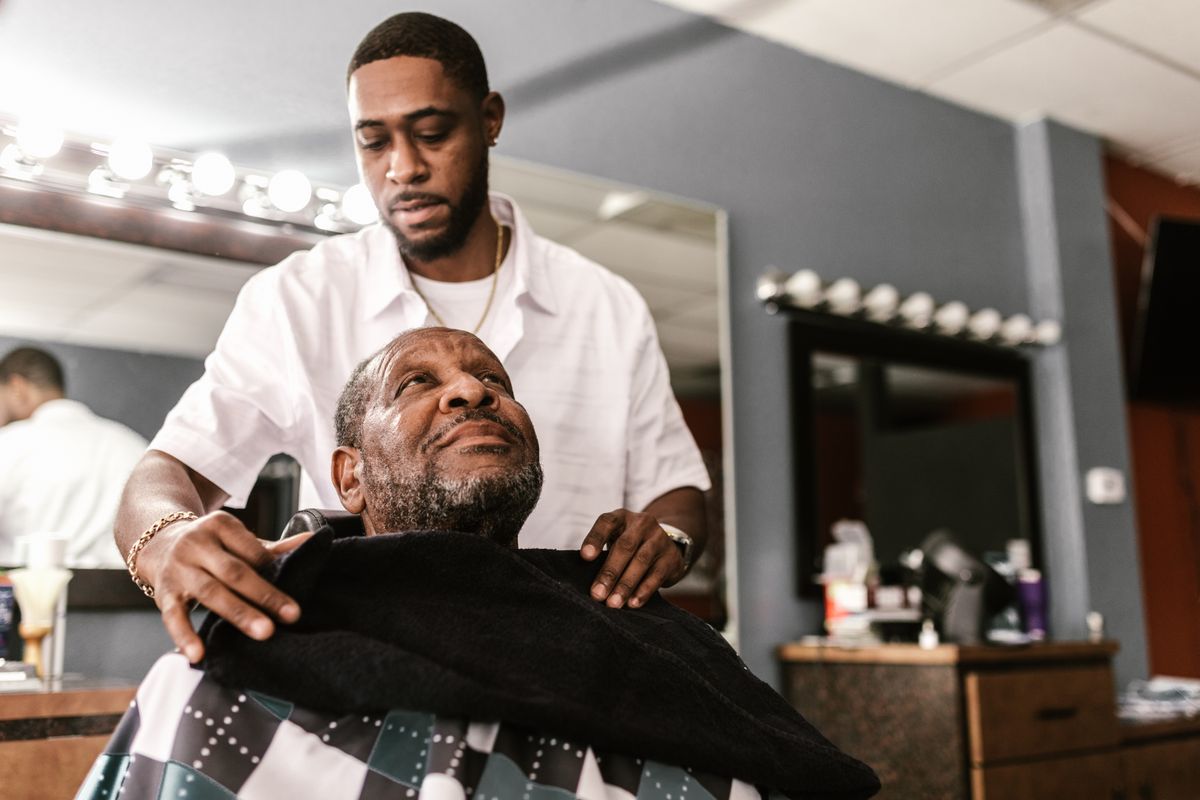
“I want a close finish but a fuller silhouette”
Discuss how the close section connects to the upper sides and top. Keeping weight in the right area can affect the silhouette even when the lowest section is very short. Your barber should assess that relationship on your head rather than following a generic diagram literally.
“I do not know which version I want yet”
Begin with how much coverage you want and the daily routine you prefer. Compare a couple of side and back references, then ask the barber to outline a conservative first version. You can record that decision with the brief builder after the consultation has clarified the details.
Details to discuss in the chair
Use the reference notes to describe your preference. These are real grooming photos, not a verified gallery of exact mid-fade variations.