A mid fade side part combines a shorter side blend with a top directed across a parting. Decide where the part should sit, whether it remains natural or is shaved in, and how much height you want. A part does not need a shaved line to be visible.
Start with the direction your top will travel
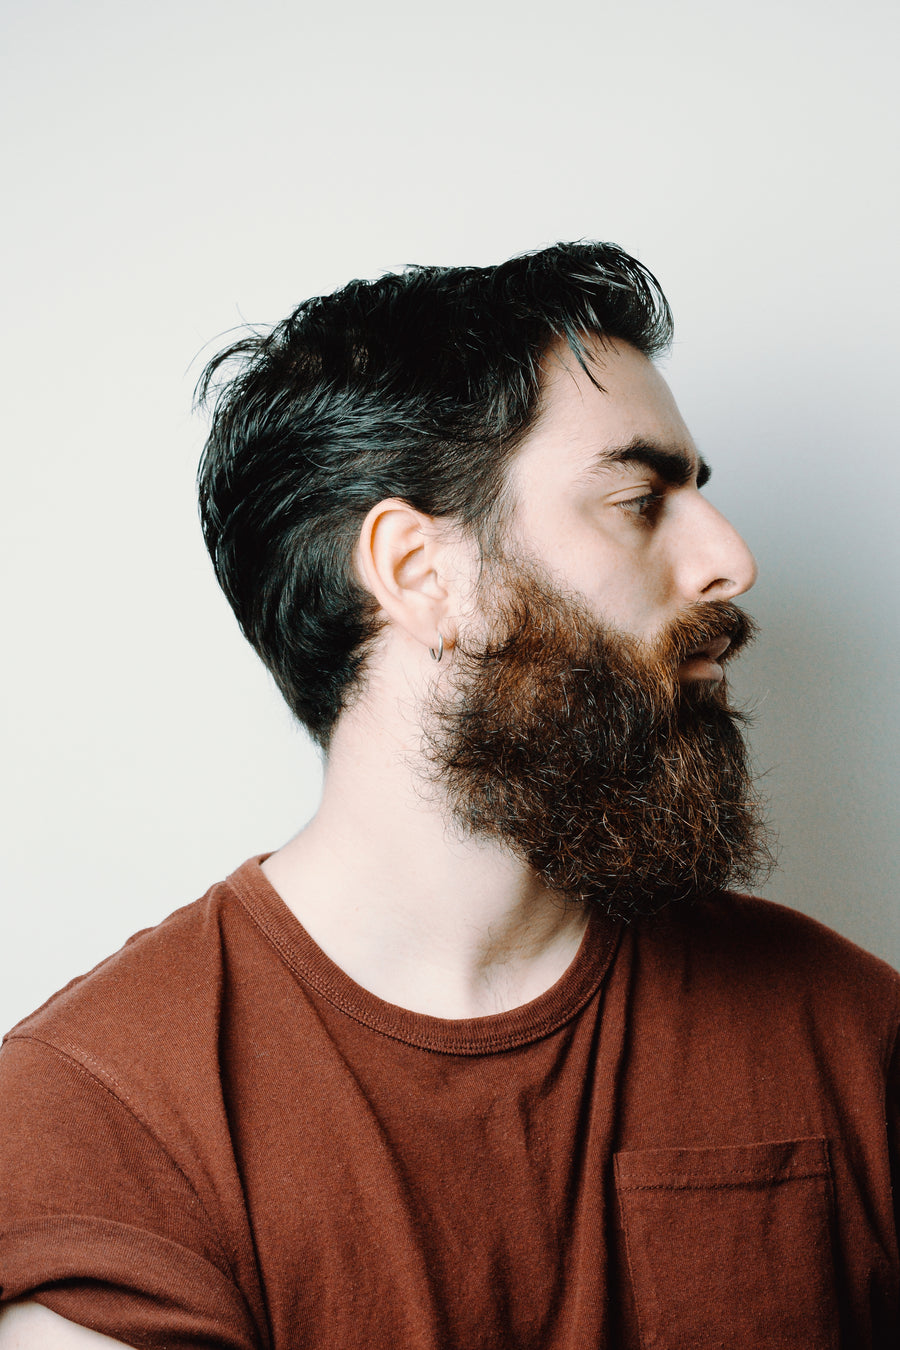
A side part is easiest to explain as a path. Hair on the longer side travels away from the part, usually across and sometimes slightly back. The shorter side can sit closer. The position of the part and the amount of lift change the appearance even when the fade below them stays identical.
Inspect your top after ordinary washing and drying. Notice where it separates and how the crown turns. That gives you a useful starting point for the consultation. You can prefer a different direction, but tell the barber if maintaining it currently takes more effort than you want. A picture of the routine result is more useful than a perfectly arranged image alone.
Natural part or hard part?
A natural part is created by the direction and separation of the hair. A hard part adds a deliberately shaved line. The latter makes the boundary more explicit, but it also creates a line that changes as hair grows back. Choose it because you want that visual detail, not because you assume every side part requires it.
If you are uncertain about placement, start by having the top arranged without shaving a line. Check the front and side. Once a line has been cut, moving it is not the same simple styling adjustment. Agree on its position and subtlety before detailed outlining, and consider whether you will still like the shape as the line softens.
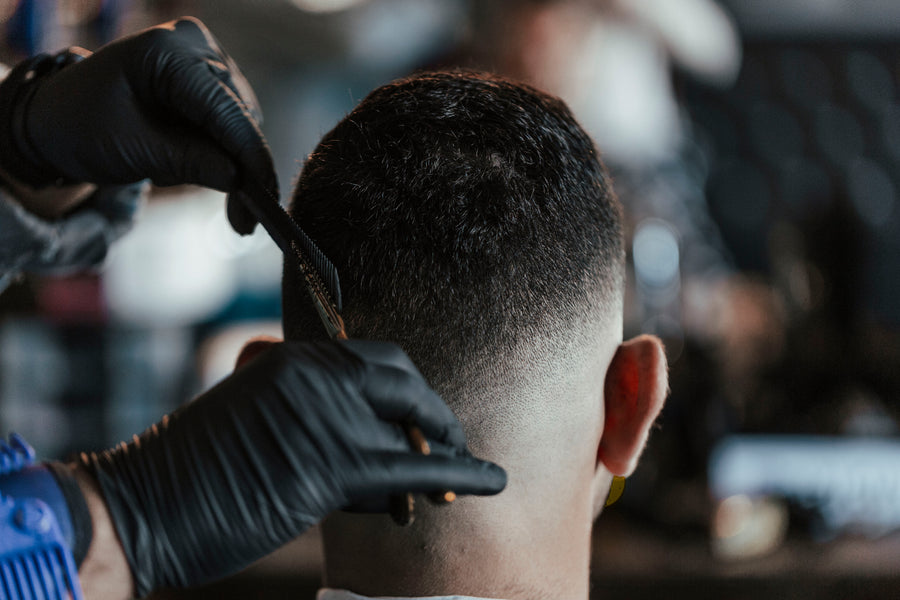
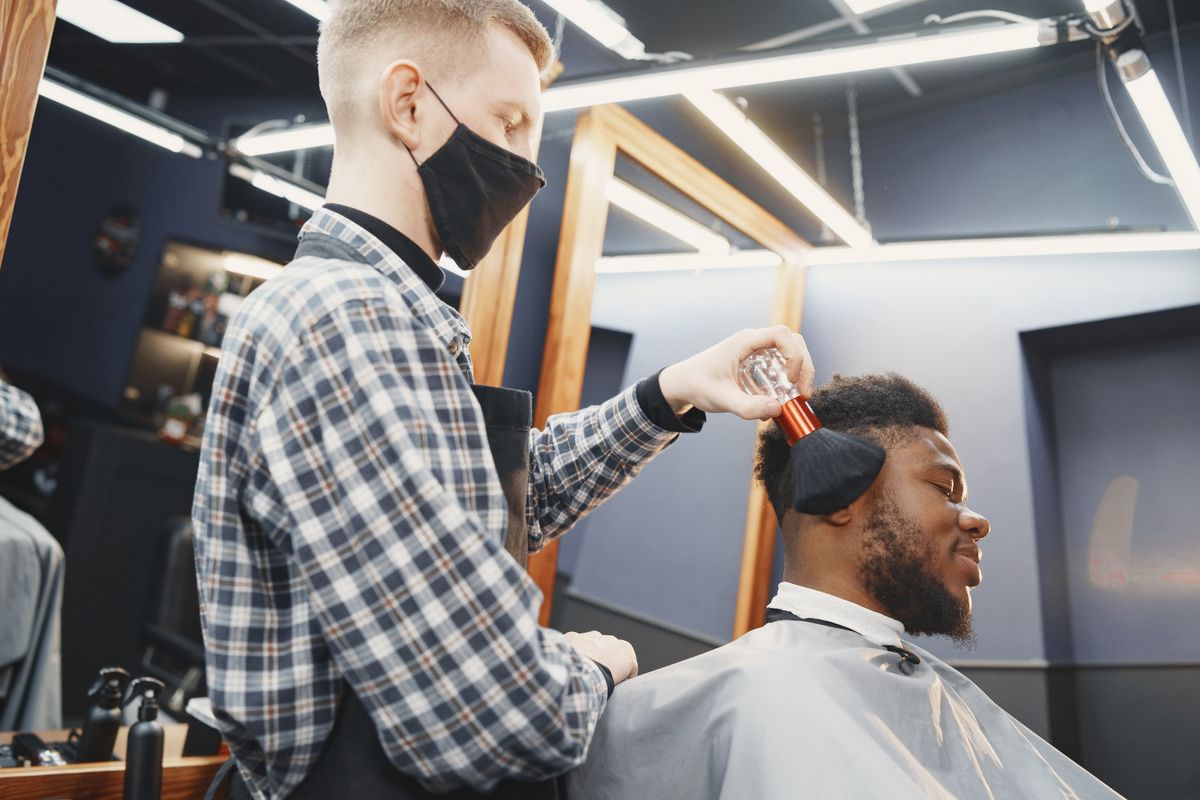
Side part, comb over and slick finish
These terms overlap and are not separate technical specifications in every shop. Side part emphasizes the separation; comb over emphasizes the direction across the head; slick describes a smoother finish. You can have a loosely styled side part or a polished combed result above the same mid fade.
Instead of treating the name as the whole request, point out the finish. Do you want visible comb lines, a softer finger-shaped surface, more height at the front or a flatter silhouette? Those choices make the style recognizable. They also tell you whether your everyday routine fits the reference you selected.
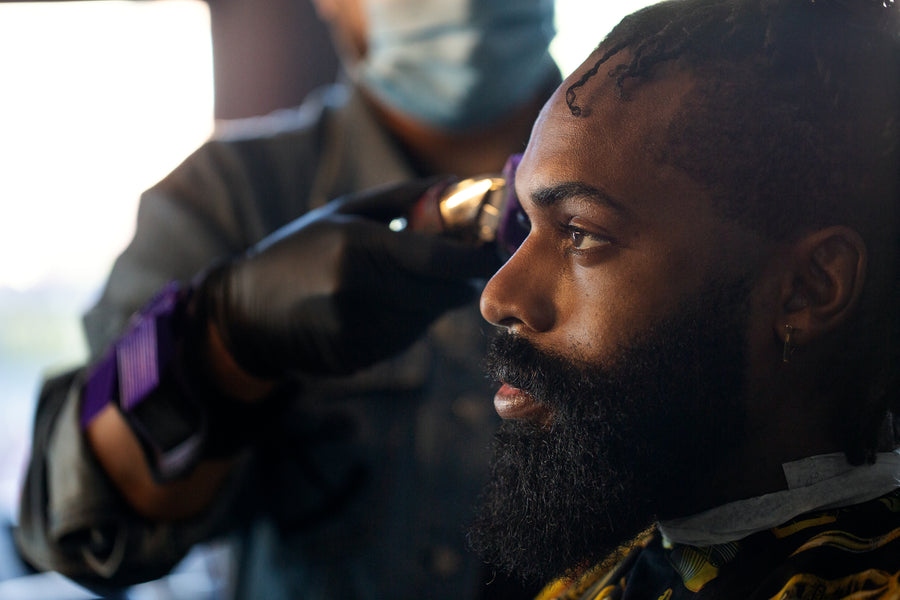
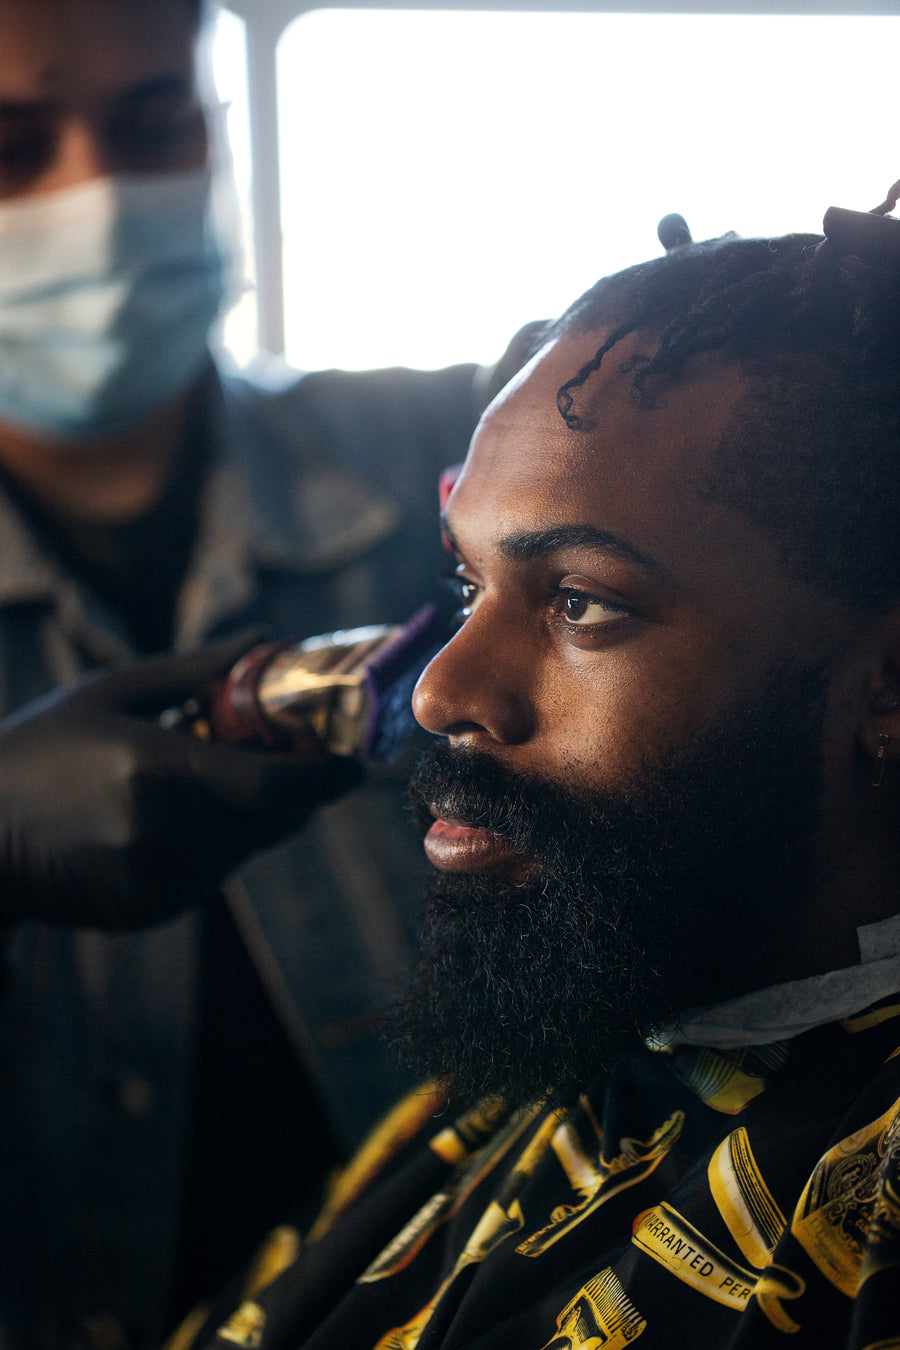
Leave enough length to cross the part
The longer side needs enough length to travel in the intended direction. That does not mean every section should be equally long. A front that is meant to lift and sweep may need a different plan from a crown that should sit quietly. Ask what the barber intends to preserve before requesting an overall shortening.
Watch the area immediately above the fade. A very tight connection can make a fuller top appear more separate; extra fullness can make the shape feel heavier. Evaluate the outline with the hair both combed and relaxed. You will wear the haircut outside the carefully arranged moment at the end of the appointment.
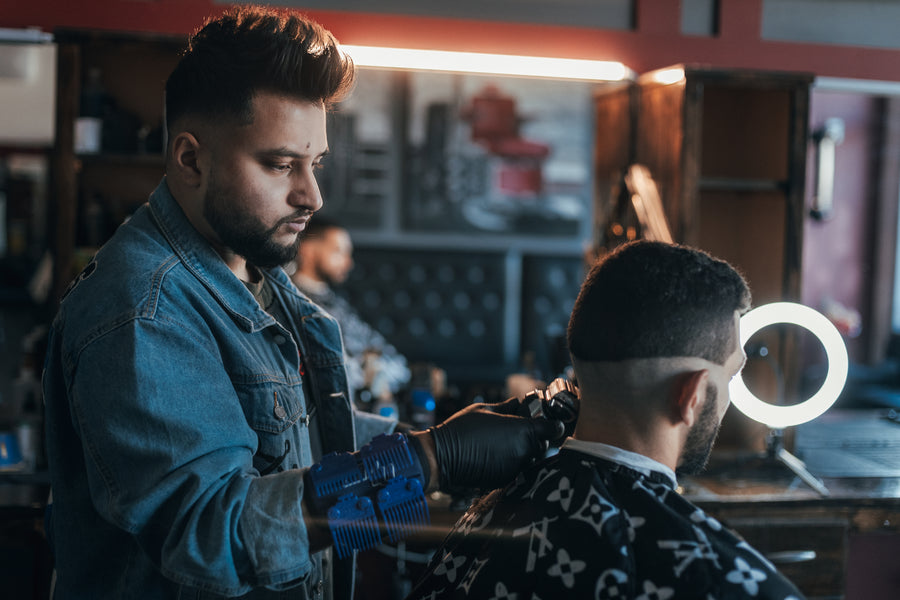
A straightforward side-part routine
Reset the top while damp, then establish the part where you want it. Guide the longer side across, adding front lift only if it is part of the intended shape. If you use a dryer, follow the appliance instructions and keep the airflow moving. The goal is to establish direction before relying on finishing product.
Apply your usual product sparingly and choose the tool that matches the finish: a comb for defined lines or fingers for a looser surface. Check the crown rather than only the fringe. If the part looks neat but the back separates awkwardly, adjust the direction there before adding more product everywhere.
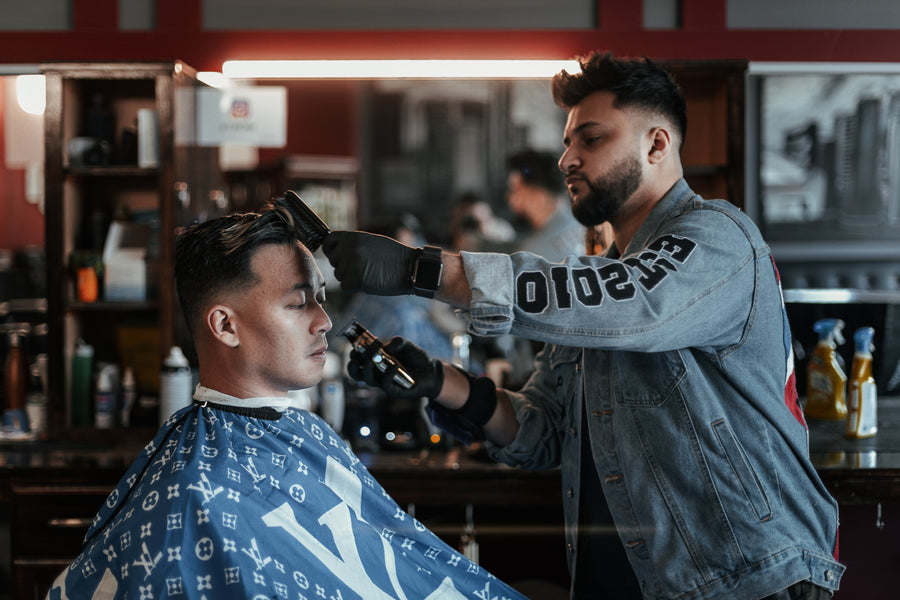
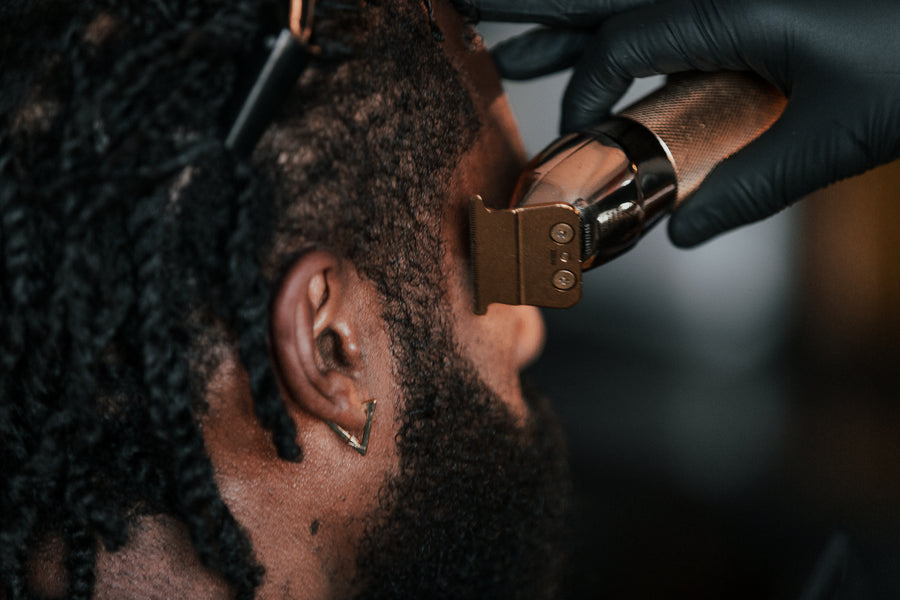
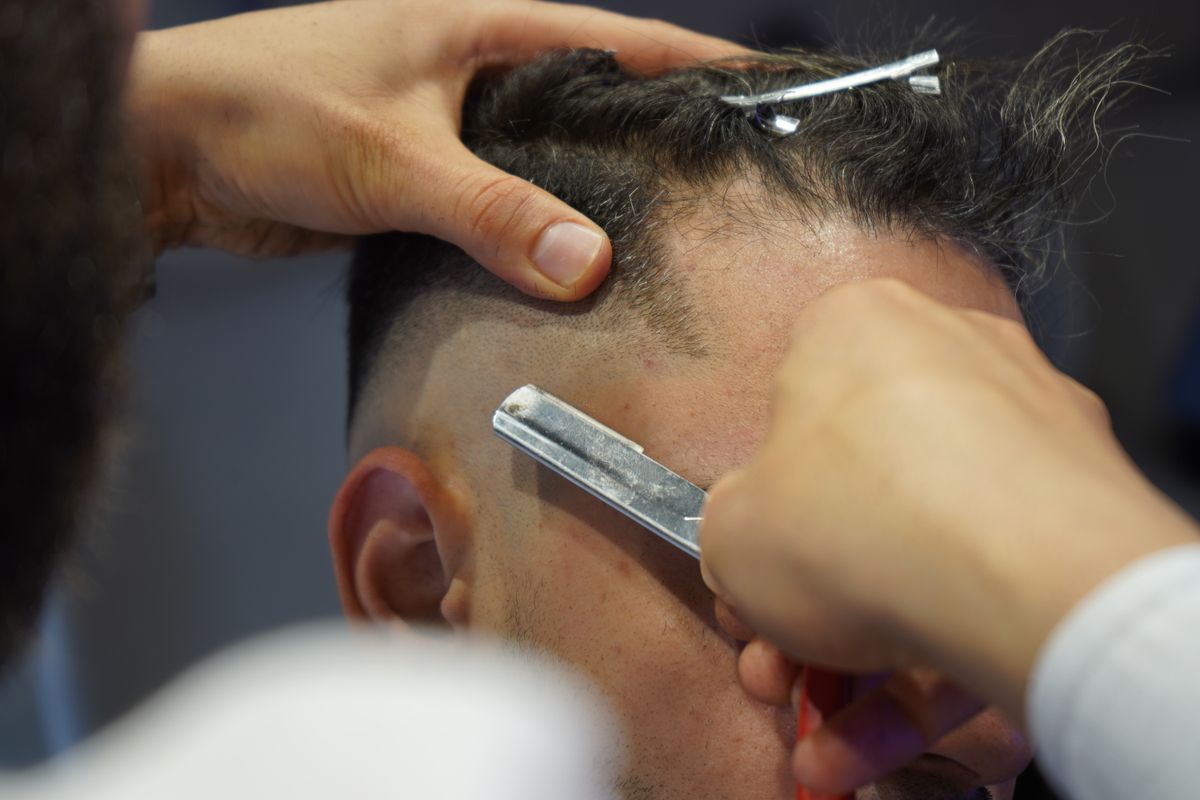
Troubleshoot the part, not the whole haircut
If the part opens wider than you want, check whether the hair is being pulled sharply away on both sides. Try a softer arrangement before assuming the line needs to be shaved wider. If the longer side falls forward, reset its root direction and consider whether the chosen part is fighting its natural movement.
If a short section beside the part stands up, show the barber that exact area dry. It may need a length or connection adjustment rather than an all-over tighter cut. Avoid treating every loose section as proof that you need a harder product. The shape, direction and amount of finish all contribute to the result.
What to say before the cut
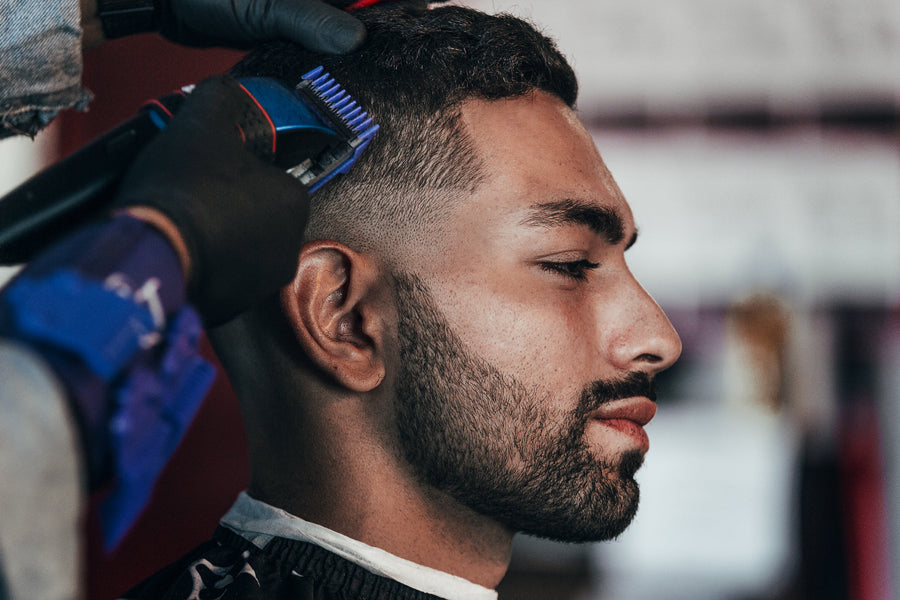
A starting request is: “I want a natural side part with the longer side moving across and slightly back. Keep enough length for that movement, leave the part unshaved and blend the sides at a medium height. Let us decide the shortest side finish separately.” Replace natural with hard part only if you want the added line.
Confirm whether the reference is about the top, the fade or both. You might like a polished top but want more side coverage than the model has. Ask to see the side profile before finishing and explain how much styling you will do at home. This keeps the result connected to your routine rather than just the photograph.
What to preserve at the next appointment
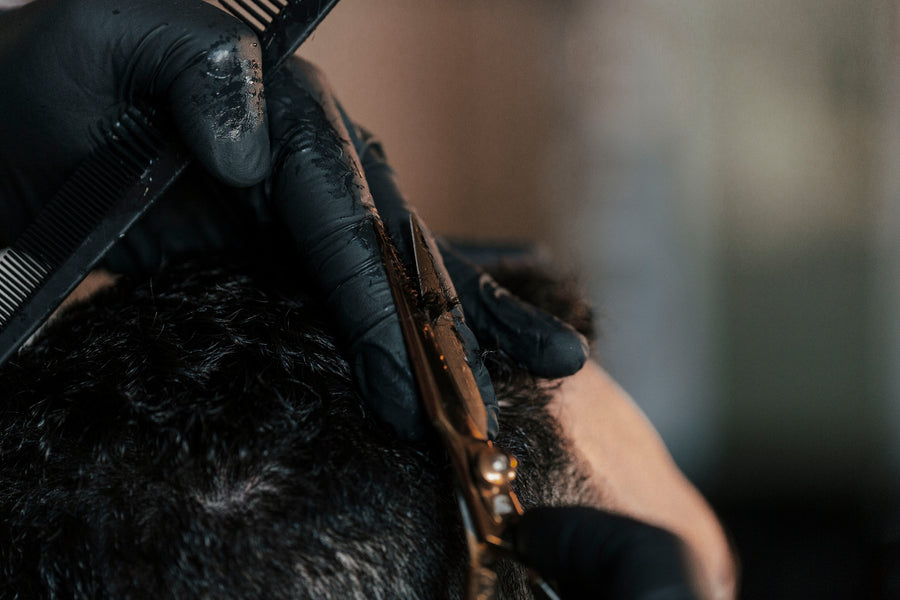
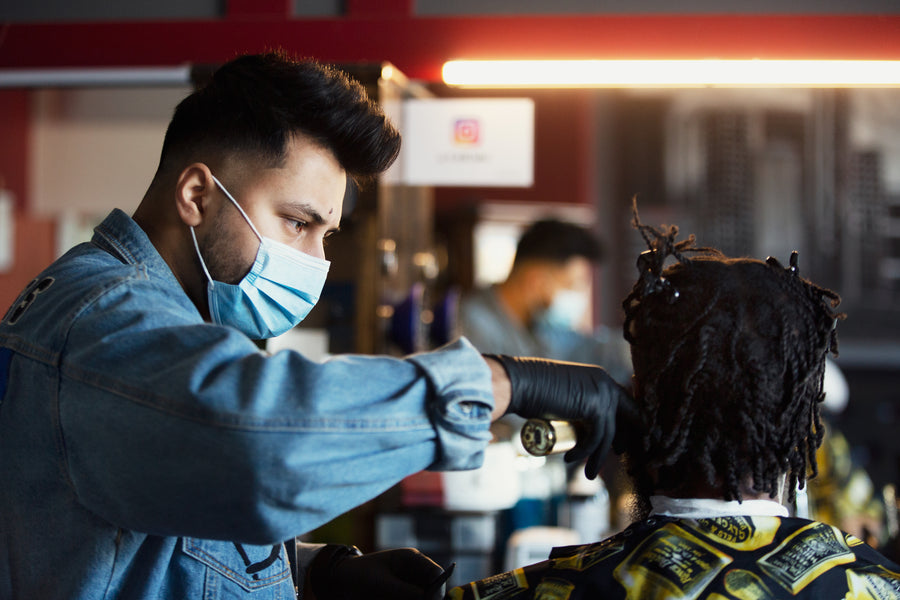
Record which side you part on, whether the line is natural or shaved and how the top is directed. At the next visit, say if the top still travels properly and only the fade needs attention. A repeated haircut does not require removing the same amount from every area at every appointment.
If you want to stop wearing a hard part, explain that before the line is renewed. Let it soften while the surrounding hair grows, and ask how to arrange the top during the change. Avoid repeatedly shaving the line wider in an attempt to make it look fresh, because that changes the boundary you are trying to grow out.
Common questions
Does a side part need a hard part?
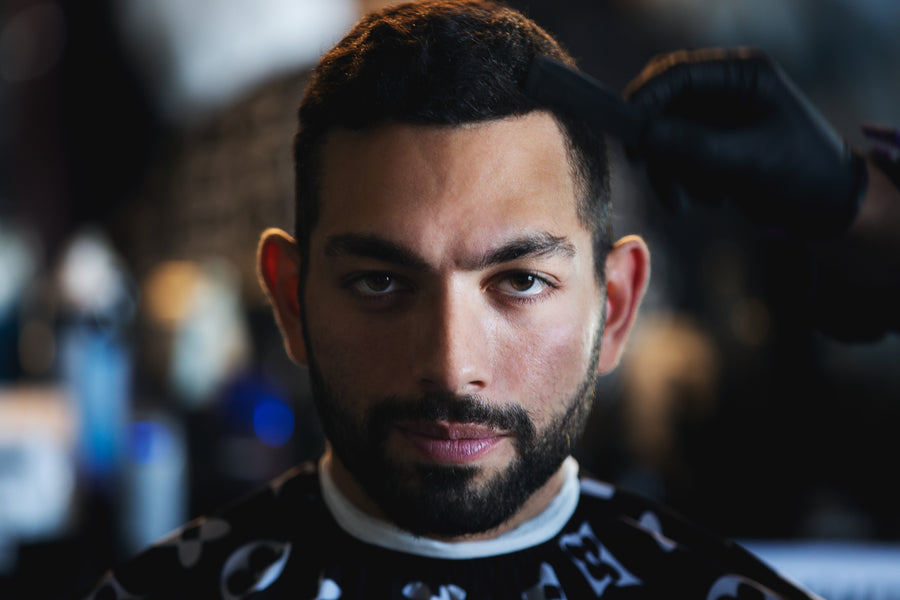
No. You can create the part by arranging the hair. A hard part is an optional shaved detail.
Can a side part work with wavy hair?
Yes, provided the direction and retained length allow for the waves. A looser finish may suit the movement you want.
Is a mid fade comb over a different haircut?
The labels overlap. Specify the part position, direction, top shape and side finish rather than relying on the name alone.