
A mid fade on straight hair makes the top direction and upper-side connection especially noticeable. Choose forward, across or back, then decide whether you want a soft blend or a deliberately stronger corner. Added texture should serve that shape, not simply remove as much bulk as possible.

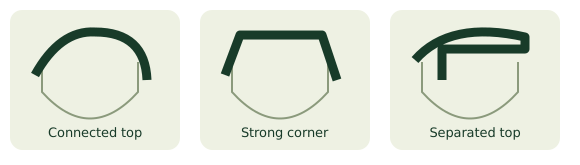
Choose the version that fits your routine
Compare the result you want before deciding on a guard number or product.
| Direction | What changes | What to confirm |
|---|---|---|
| Forward crop | Shorter styling path toward the forehead | Check the fringe outline dry, especially if the front grows upward. |
| Side part | A defined direction across the top | Keep enough length for the hair to cross the part and settle. |
| Brush back | Hair directed away from the face | Ask whether the front has enough length to travel back comfortably. |
Start with how your hair naturally lies
Before choosing a reference, notice the direction your front and crown take after a normal wash. The front may fall forward, split to one side or lift away from the forehead. The crown can behave differently again. A haircut that supports those patterns may be easier to wear than one that asks you to redirect every section each morning.
Tell your barber what happens without a strong styling product. “It sits flat here but sticks out at this corner” is useful information. If you always wear a cap, use a dryer or brush the front into place, explain that too. Straight hair is not one uniform category, and the same top length can behave differently depending on the growth pattern and density. The goal is a shape that works with your actual routine.
Pay attention to the upper-side corner
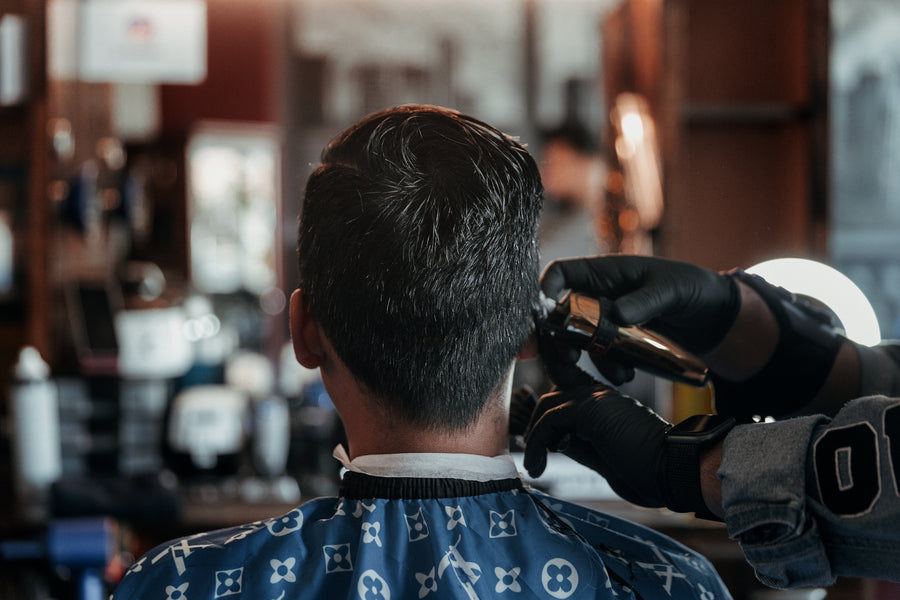
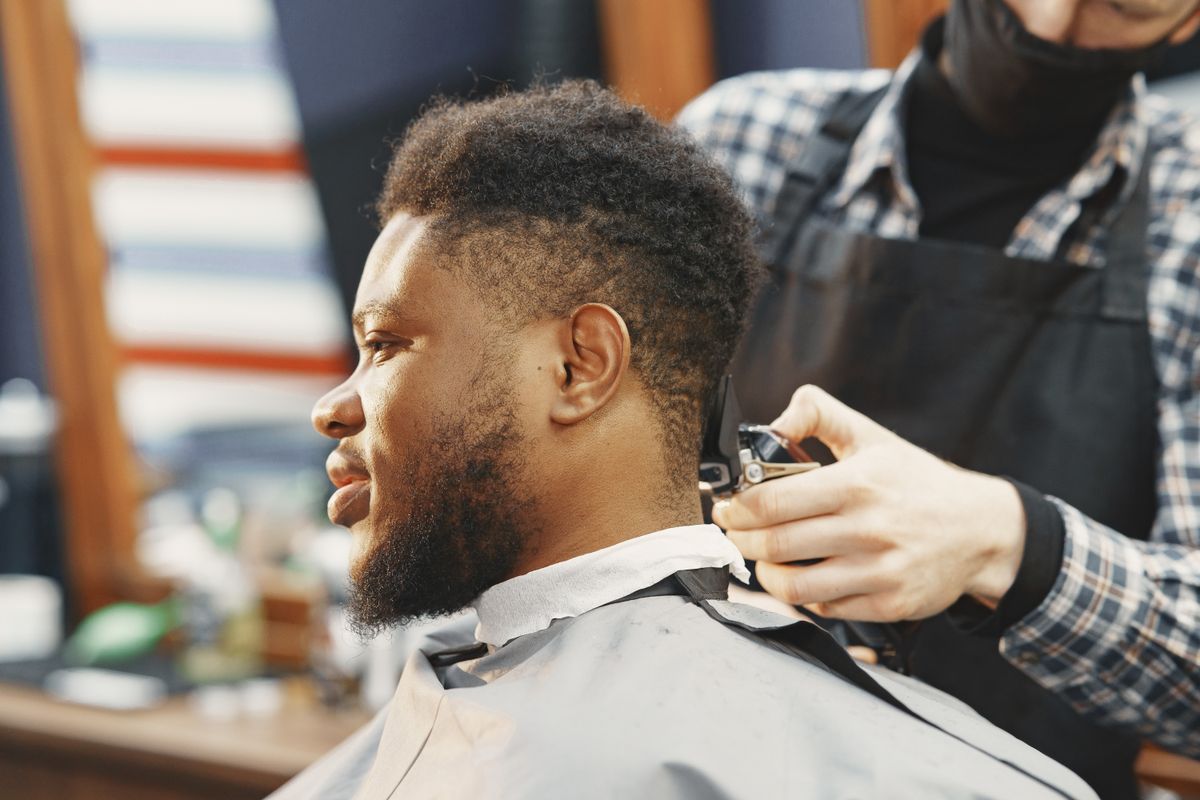
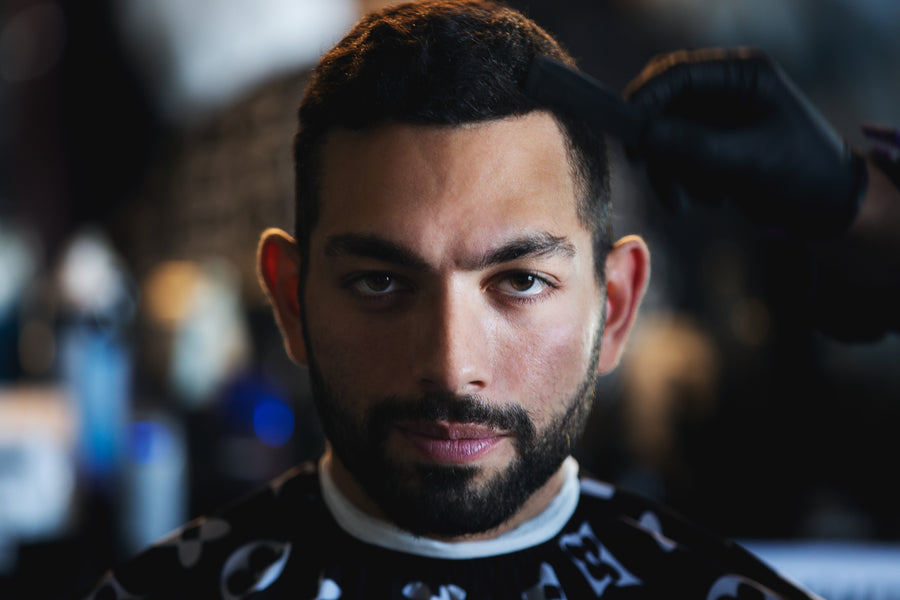
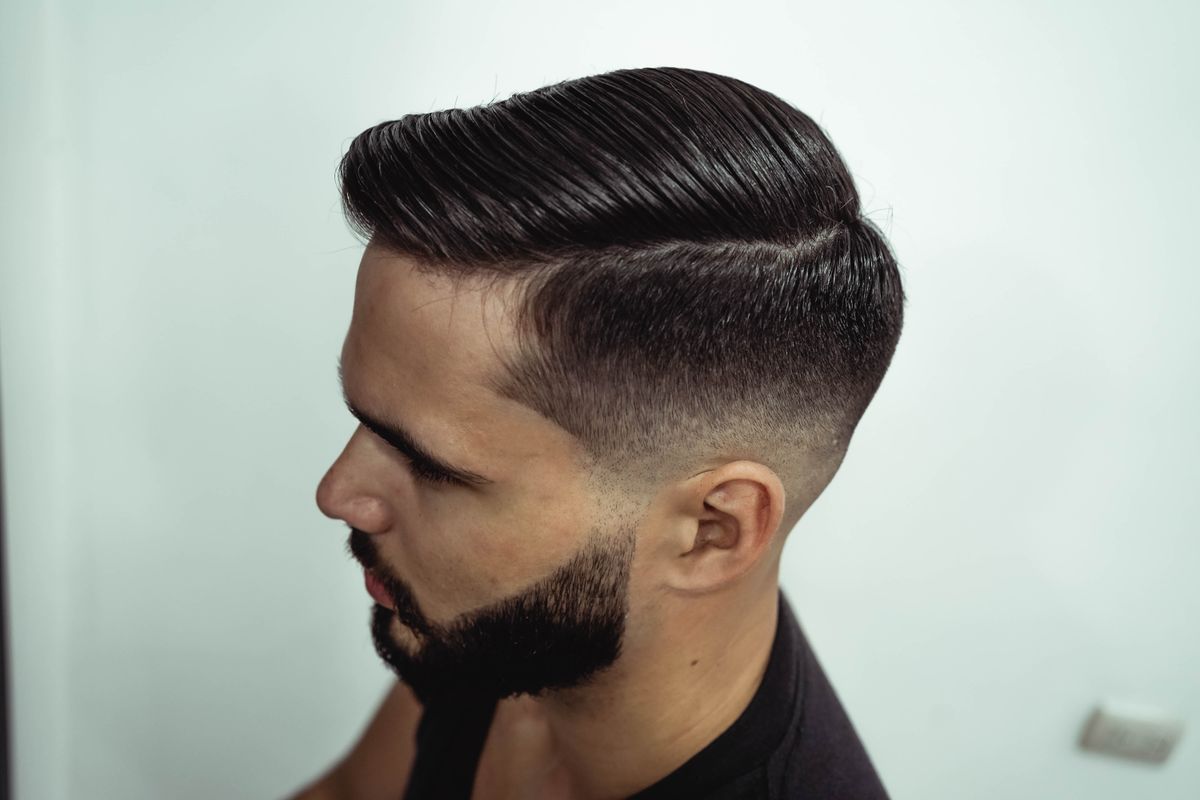
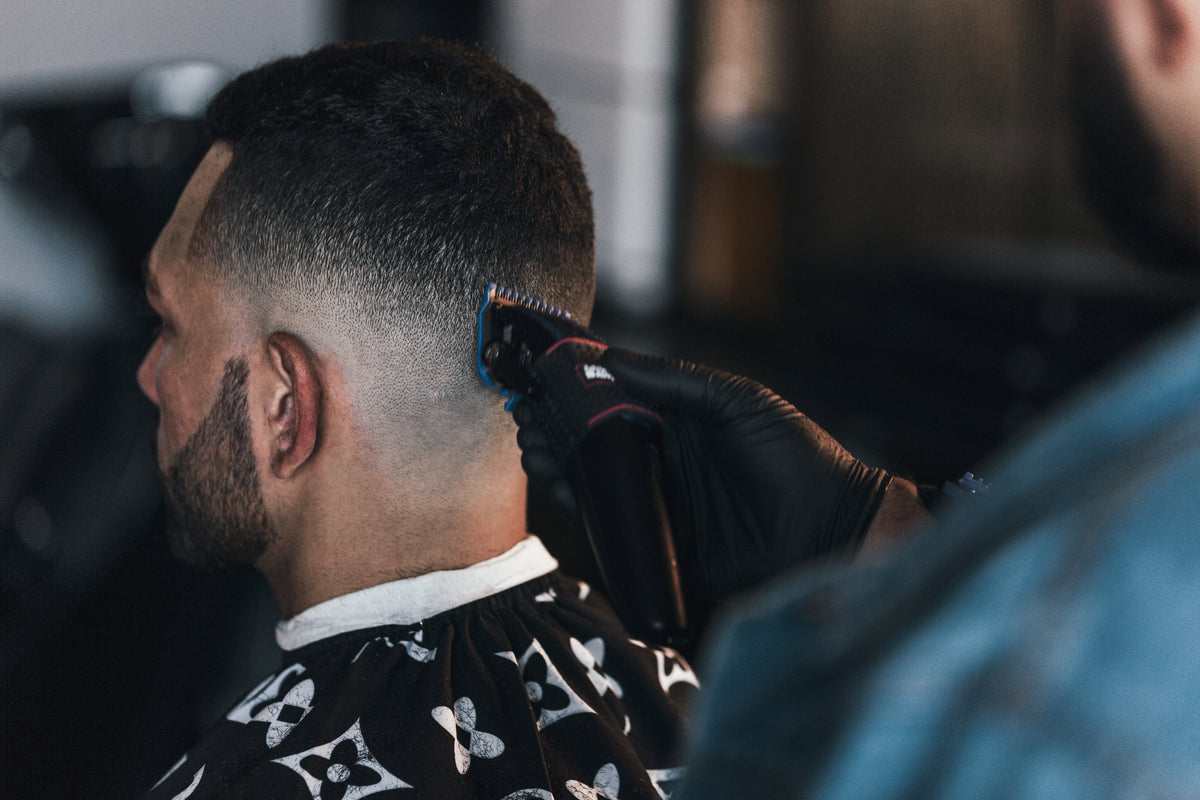
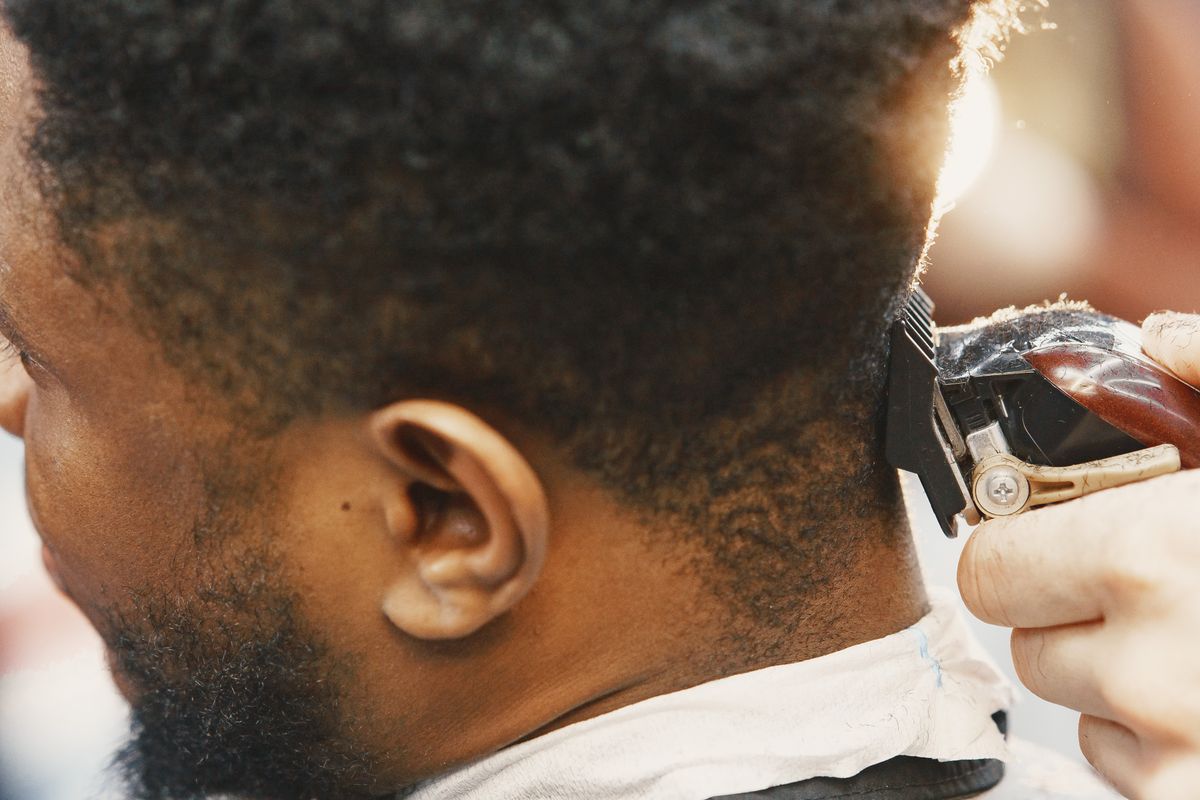
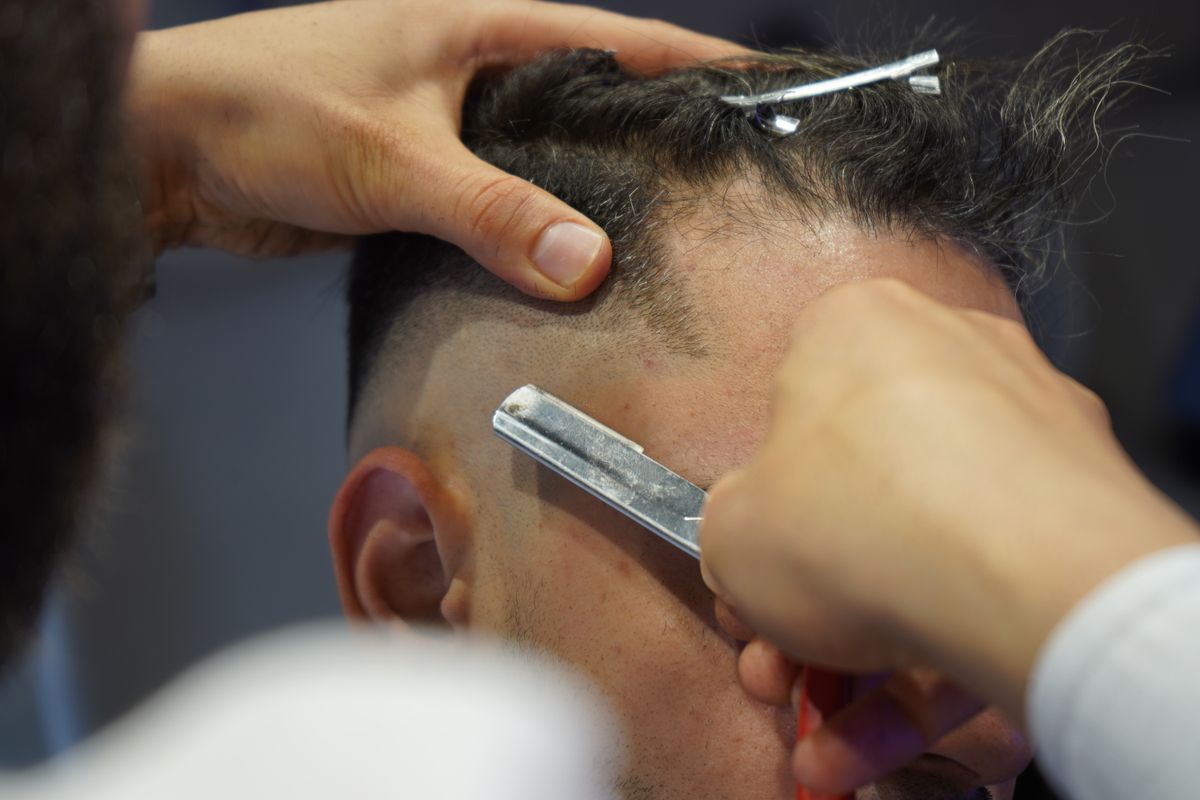
The area where the sides meet the top often determines whether a straight-haired cut feels compact, boxy or separated. Taking that corner too short for your growth pattern may leave it standing out. Preserving more weight can help retain coverage, but it can also look bulky if the connection is not adapted to the top. Ask your barber to assess the area rather than assuming tighter is always cleaner.
A side-view reference is especially useful here. Point out whether you like a soft continuous connection or a more noticeable distinction between the top and sides. Explain any trouble you had with previous haircuts after the first wash. If the corner only became difficult as it grew, say when that happened. That helps distinguish an initial shape problem from an issue with the maintenance interval.
Choose forward, across or back
A forward crop places the emphasis on the fringe and surface texture. A side part directs the length across the head, while a swept-back top needs enough length and control to travel away from the face. These choices ask different things of your growth pattern and styling habits. Choose the direction before deciding on a particular finish or product.
If your goal is minimal morning effort, ask what the top looks like when air-dried in its usual direction. If you are comfortable using a dryer, ask the barber to show how to establish the shape before adding the final product. A polished reference may depend on that preparation. Do not judge the haircut only from its styled photograph without understanding how the direction was created or how much work it requires.
Understand texture without sacrificing coverage
Texture can mean visible movement, separation or a less solid edge. It does not always mean removing large amounts of hair. The right approach depends on how much density and coverage you have and which part of the top feels too heavy. Tell the barber what you want to see rather than requesting an aggressive technique by name.
If you have lower-density hair, discuss whether the proposed shape will show more scalp at the front or crown. A reference with much denser hair may not be a useful guide to the finish you will get. If your hair is very full, explain where the bulk bothers you most. The aim might be a lighter fringe or a softer upper corner, not less weight everywhere. Preserve the areas that already sit well.
Select contrast separately from fade height
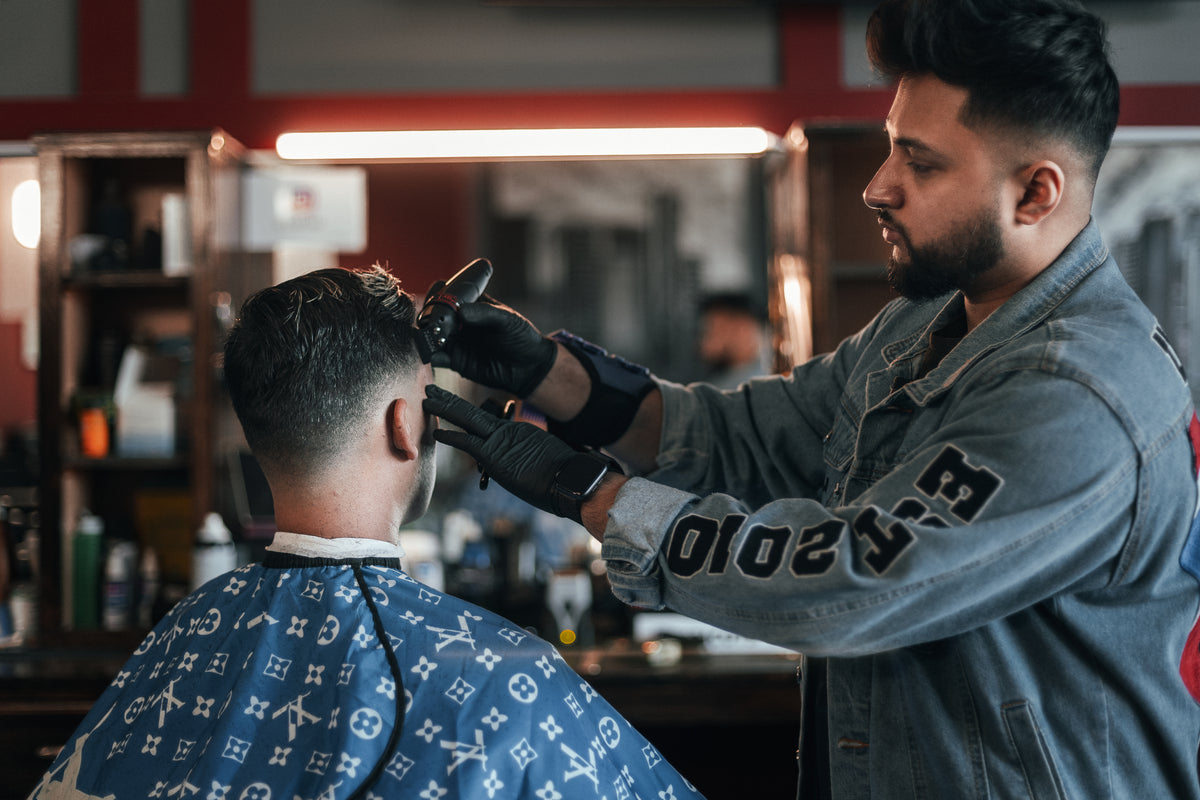
A mid fade describes the transition position, not a promise that the bottom will be shaved to skin. Keeping some visible hair at the shortest point creates a different impression from a close skin finish. Decide how much exposure you want, then ask your barber to indicate the placement of the blend on your own head.
The contrast also depends on the difference between your hair and scalp, the density and the lighting. A guard number alone will not predict exactly how the cut looks. If you are trying a fade for the first time, discuss a conservative starting finish and look at a sample of the length before committing. You can keep the top style you like while adapting the side coverage to your own comfort.
Use a request that describes the result
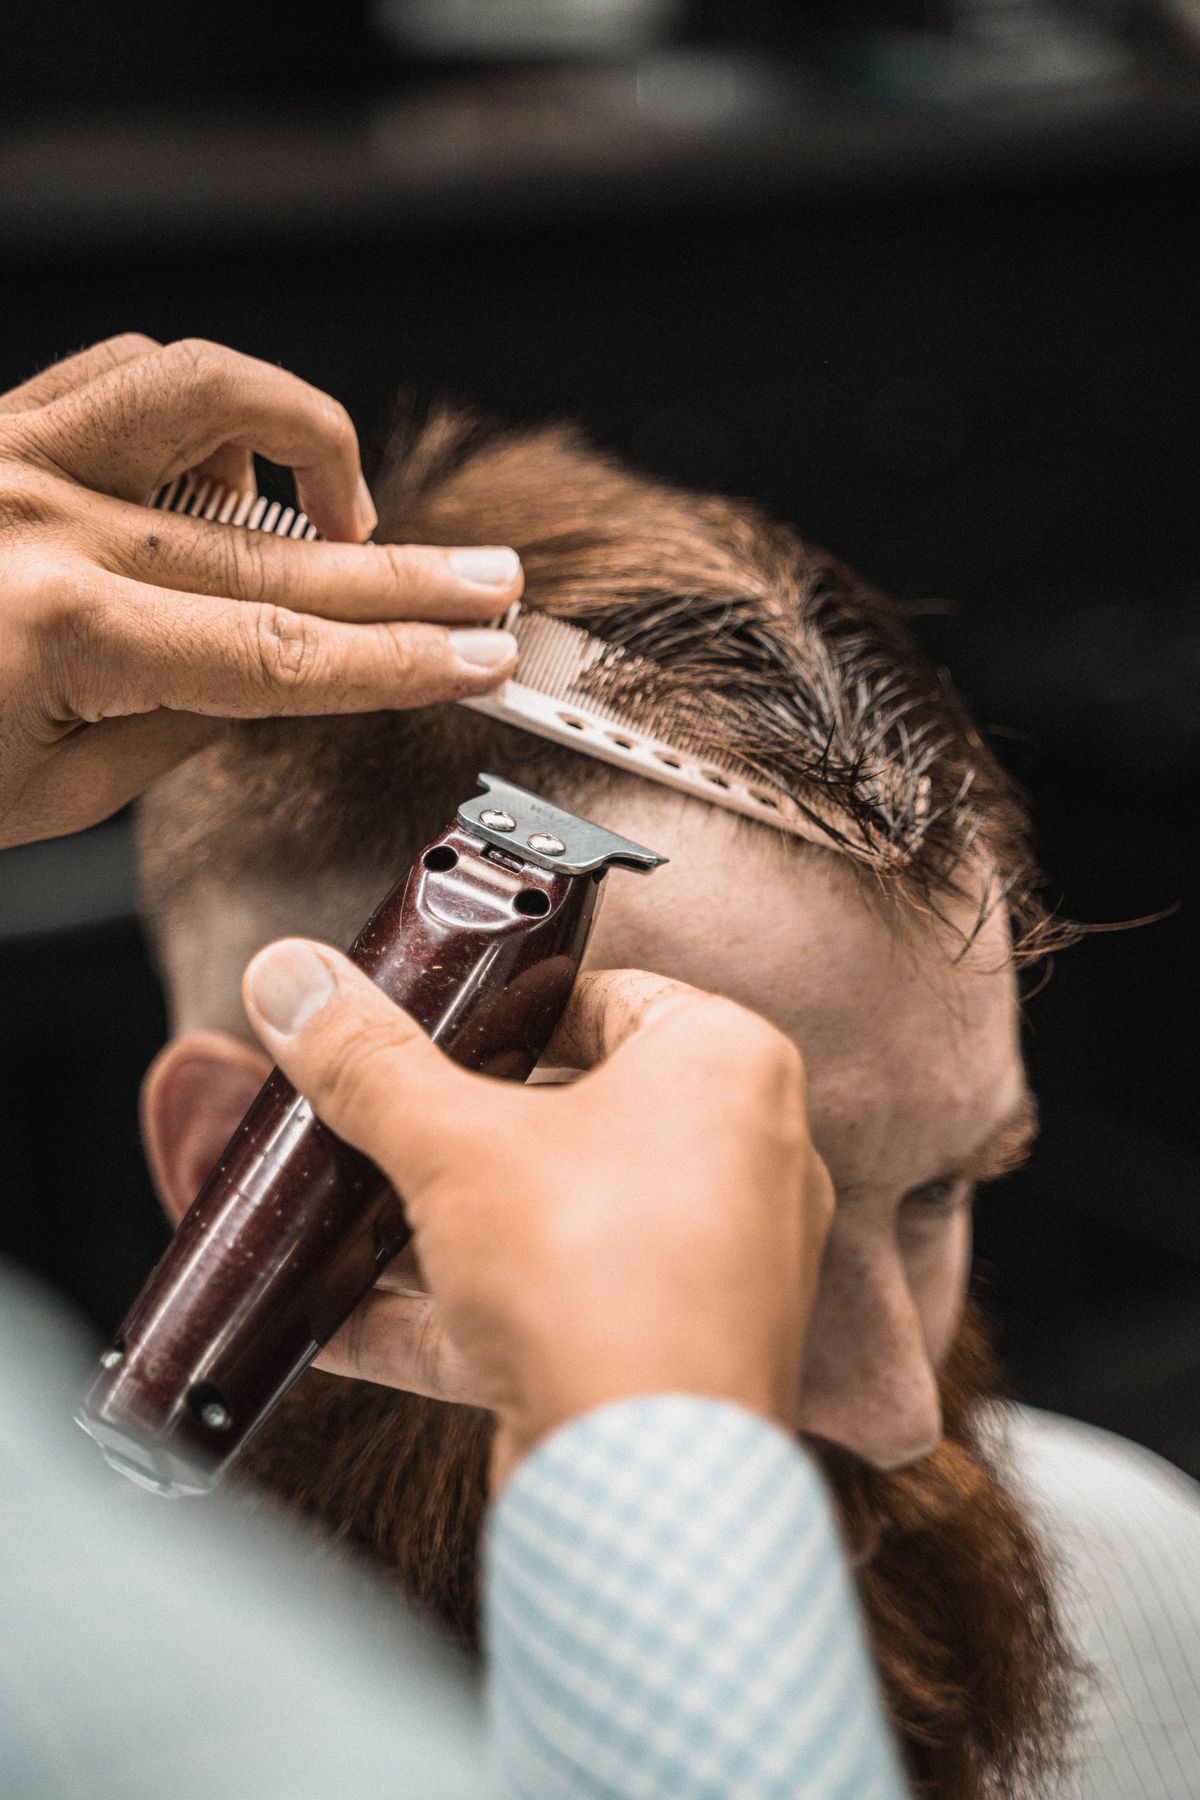
Try: “I want a mid fade with the top worn forward, but please keep enough length at the crown and upper sides for it to sit down.” Change forward to across or back if that is your chosen direction. Add whether you want a soft or defined fringe, skin or visible coverage at the base, and a natural or more deliberate outline.
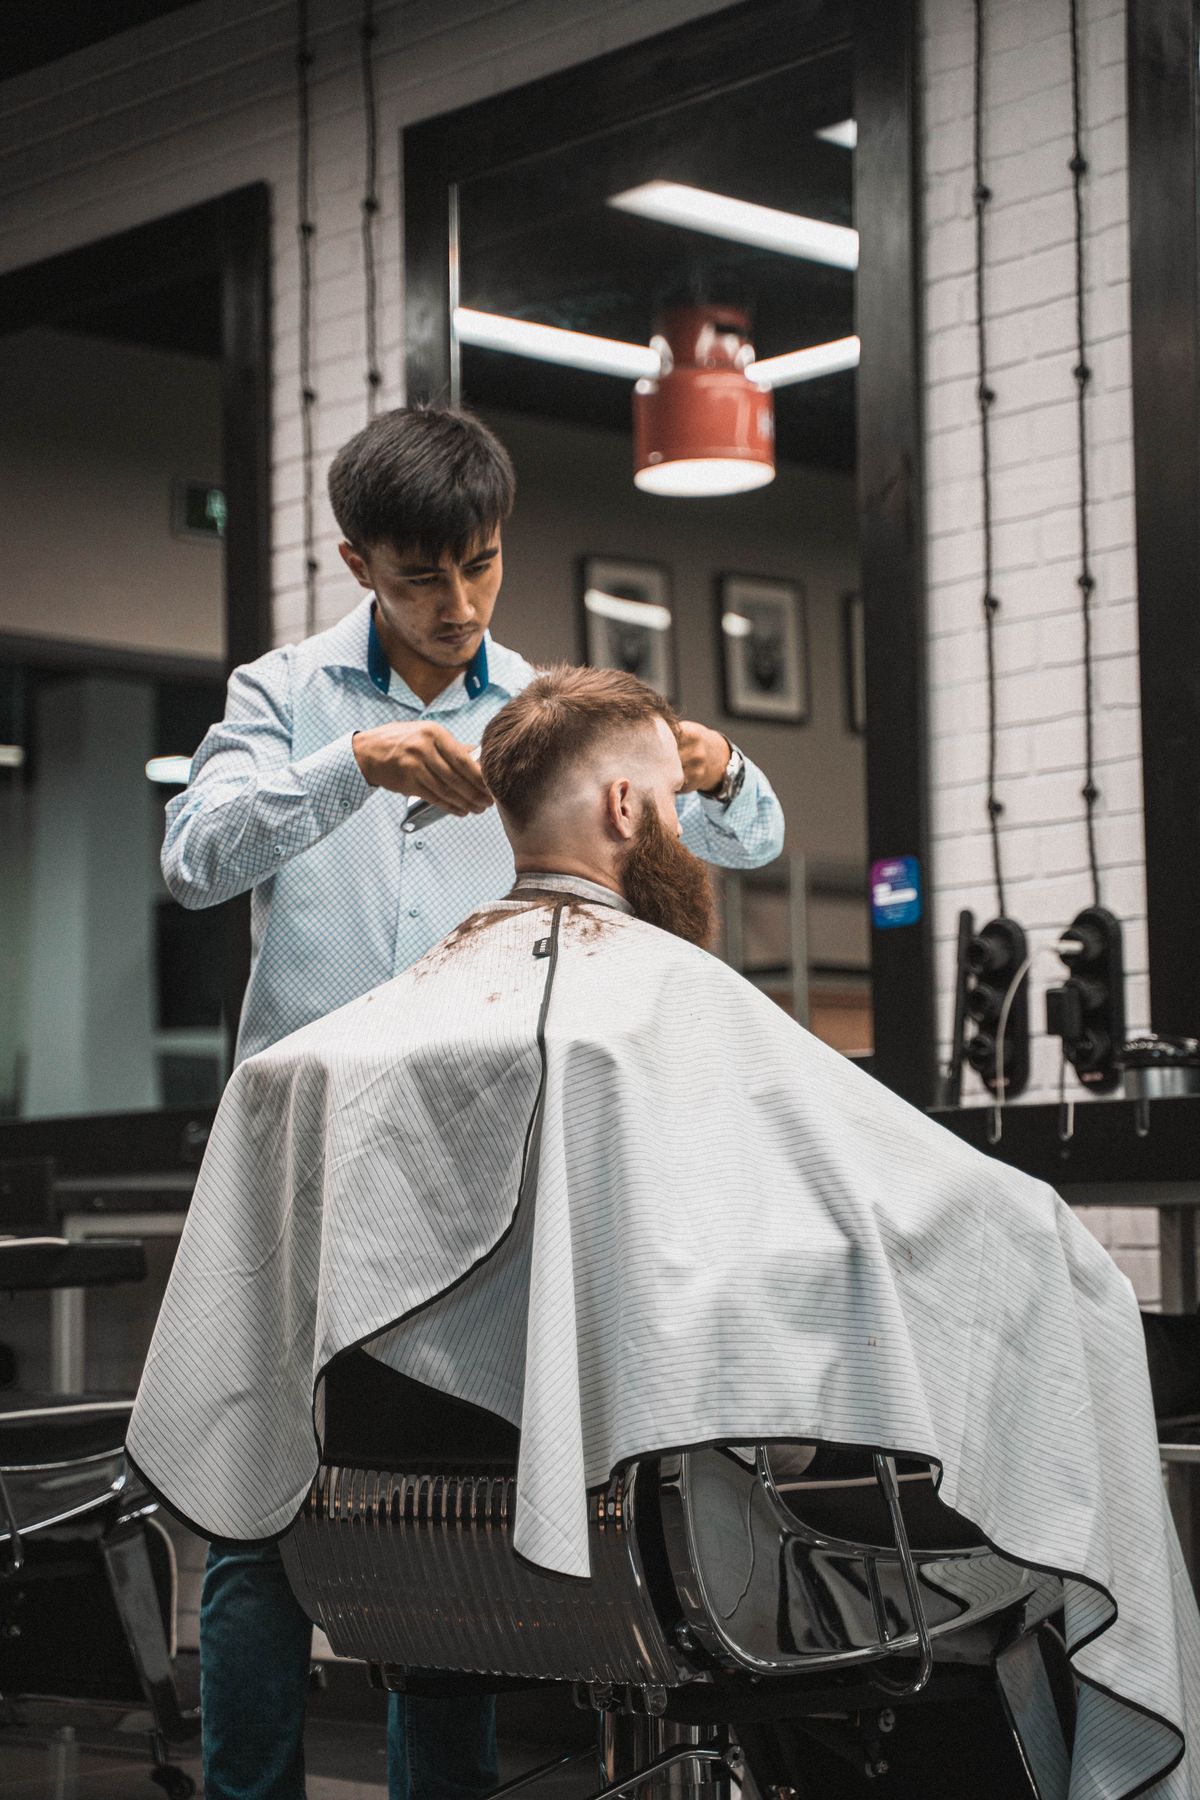
Show the barber the corner or crown that usually causes trouble. Explain how you dry the hair and whether you use product every day. Ask them to confirm which parts of the reference can transfer to you at your current length. The conversation should finish with a shared picture of the top direction, side connection and shortest finish. You do not need to dictate every cutting tool to reach that agreement.
Give useful feedback as the cut grows
Straight hair can make a changing front edge or upper-side shape easy to notice. Record which area starts to feel less controlled, and whether the problem happens immediately after washing or later in the day. A photo from the side can explain a widening corner more clearly than the phrase “the fade grew out badly.”
At the next visit, separate what you want repeated from what should change. You might keep the top direction but ask for a different fringe weight, or keep the fade while allowing the crown to grow. If you are moving toward a longer style, make that goal explicit so a standard refresh does not remove the length you need. A maintenance plan should support the shape you want over several appointments, not simply repeat the shortest version.
A routine you can test at home
- Set the intended direction while the top is damp.
- Dry or arrange the roots in that direction before concentrating on the ends.
- Use a light first application of product, then add only where the shape loses control.
- If the style works only under a large amount of product, revisit the cut and direction before buying a stronger product.
Short hairs at the upper sides stand out
Identify whether the area is too short to lie down or too bulky at the connection. Those problems need different solutions. More shortening may make a stiff section stand up more obviously. Show the area dry and ask what length or connection would let it sit within the outline.
A more precise barber request
I wear the top across to this side. Keep enough length for it to lie down and soften the upper-side corner. I want the mid fade below that connection rather than pushed higher into it.
An example request to adapt, not a guaranteed result or a record of a tested client.
Common questions
Does straight hair always need a textured top?
No. A smoother side part or swept-back finish may be exactly what you want. Texture is a style preference, not a requirement for straight hair.
Why do my upper sides stick out after a haircut?
Length and growth direction can contribute, but your barber needs to assess the area. Show where it happens and discuss whether to preserve more weight or change the connection.
Can a mid fade work with fine straight hair?
It can, but discuss scalp visibility and the coverage you want to retain. Compare a softer shortest finish and avoid assuming a dense-haired reference will look identical.